RAON Configuration Guide
The following is a configuration guide for RAON SSO.
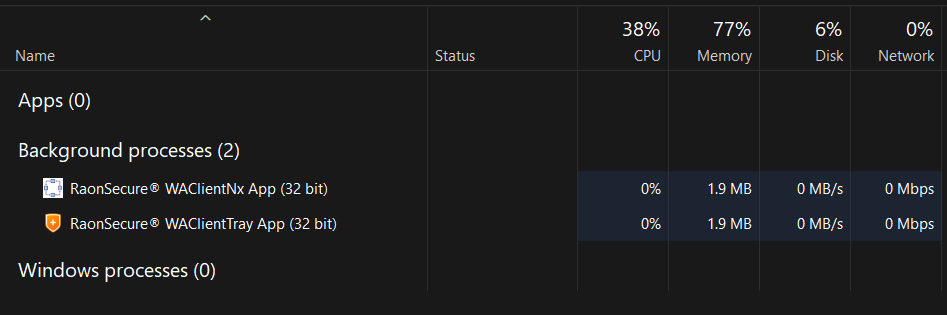
Step 1: Install the SSO Client on your PC
You will need to install an SSO Client program to store the SSO token.
Installation file: WAClientAccess_v1.4.4.3.23224.KOSCOM.nosign.zip
Process running screen:
Step 2: Input the RAON domain in to the Console
Within the Login Settings > SSO setting, select RAON and input the domain used on the RAON MFA.
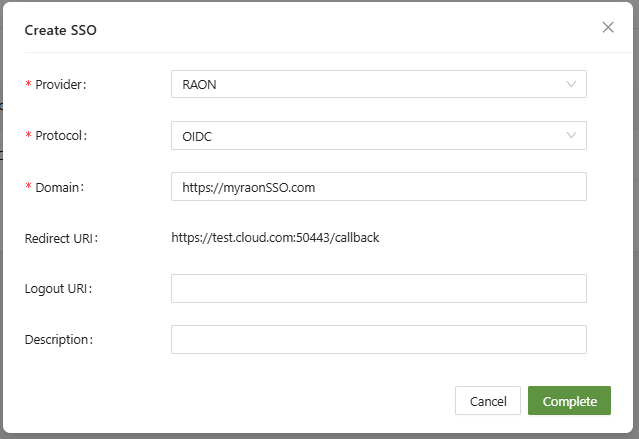
Click complete
Step 3: Log in with RAON
Going back to the log in screen will now show a new button:
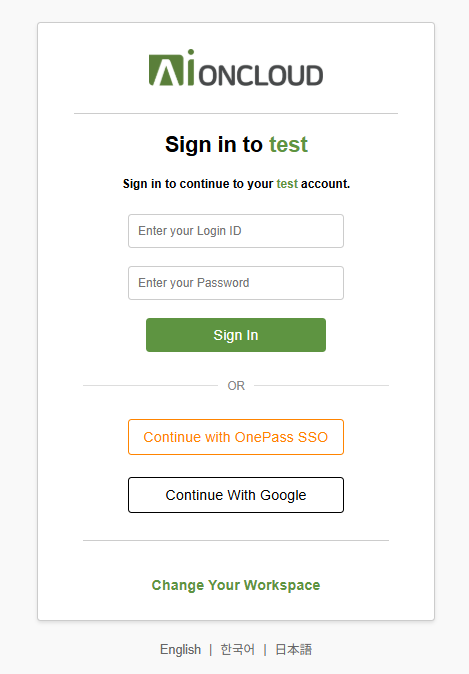
Clicking on the OnePass SSO button will open up a log in page for the domain entered in the SSO configuration:

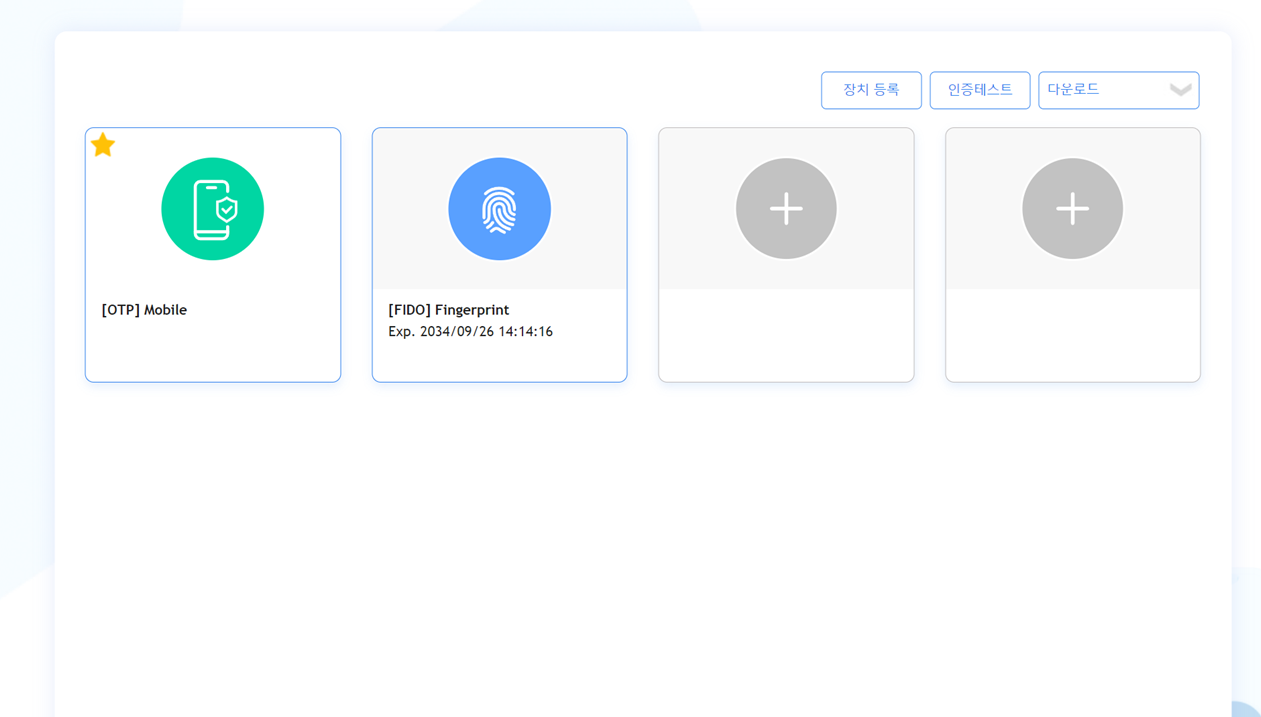
Afterwards devices can be registered for authentication using your preferred method, such as FIDO (biometric authentication), OTP, etc.
FIDO can be registered by scanning a QR image through a mobile app, and
OTP can be registered by adding mOTP (VPN 2nd authentication) in the mobile app and verifying the device number.