Okta Configuration Guide
SSO Okta Setup Guide
This is a guide to creating an Okta application and applying SSO login.
1. Create Applications
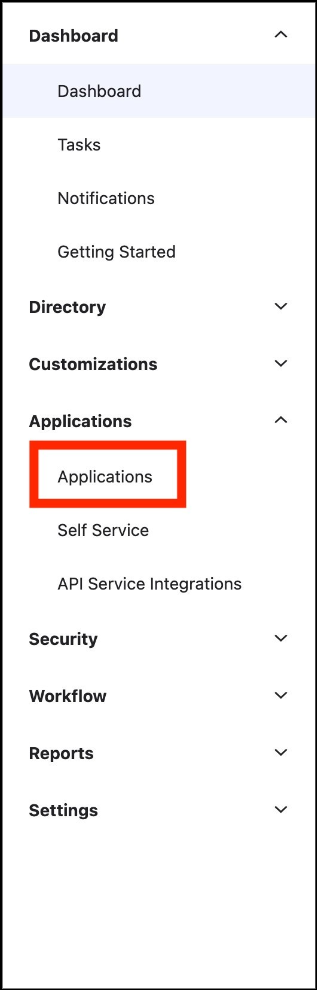
① Click the Applications tab in the left panel.
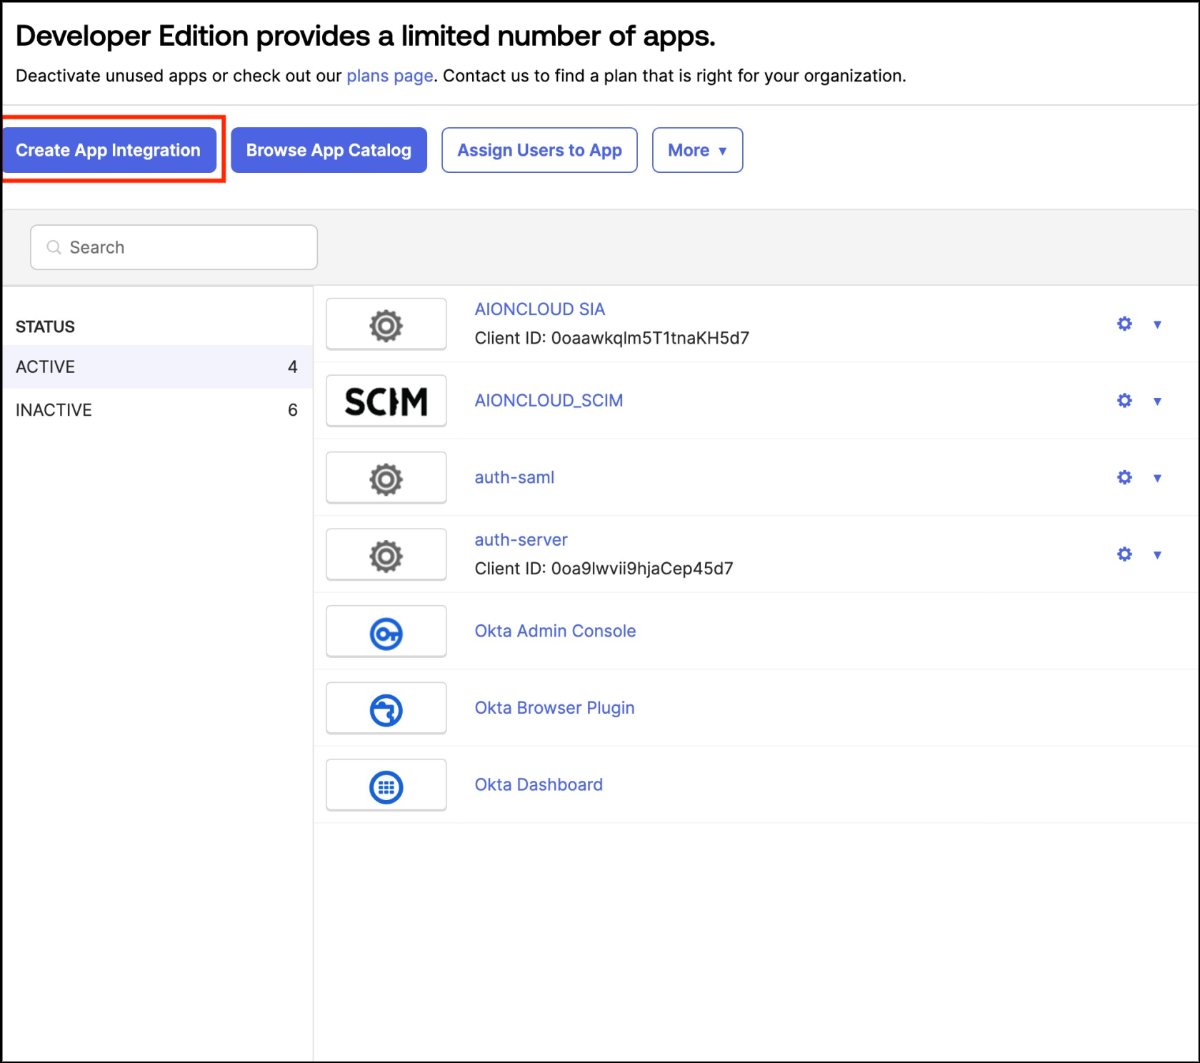
② Click the Create App Integration button to create a new Integration Application.
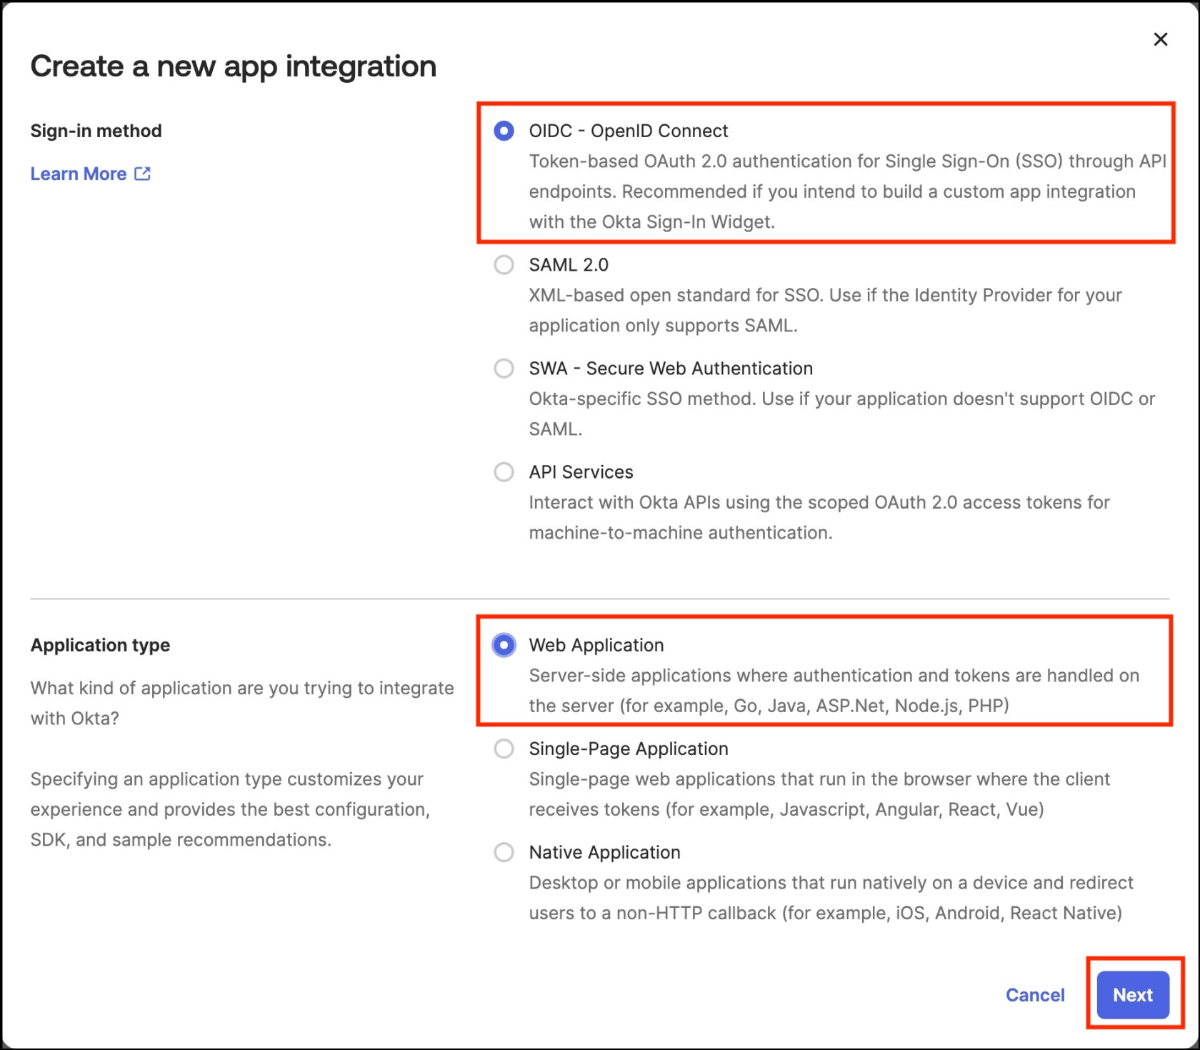
③ Select OIDC - OpenID Connect as the sign-in method and Web Application as the application type, then click the
Next button to proceed.
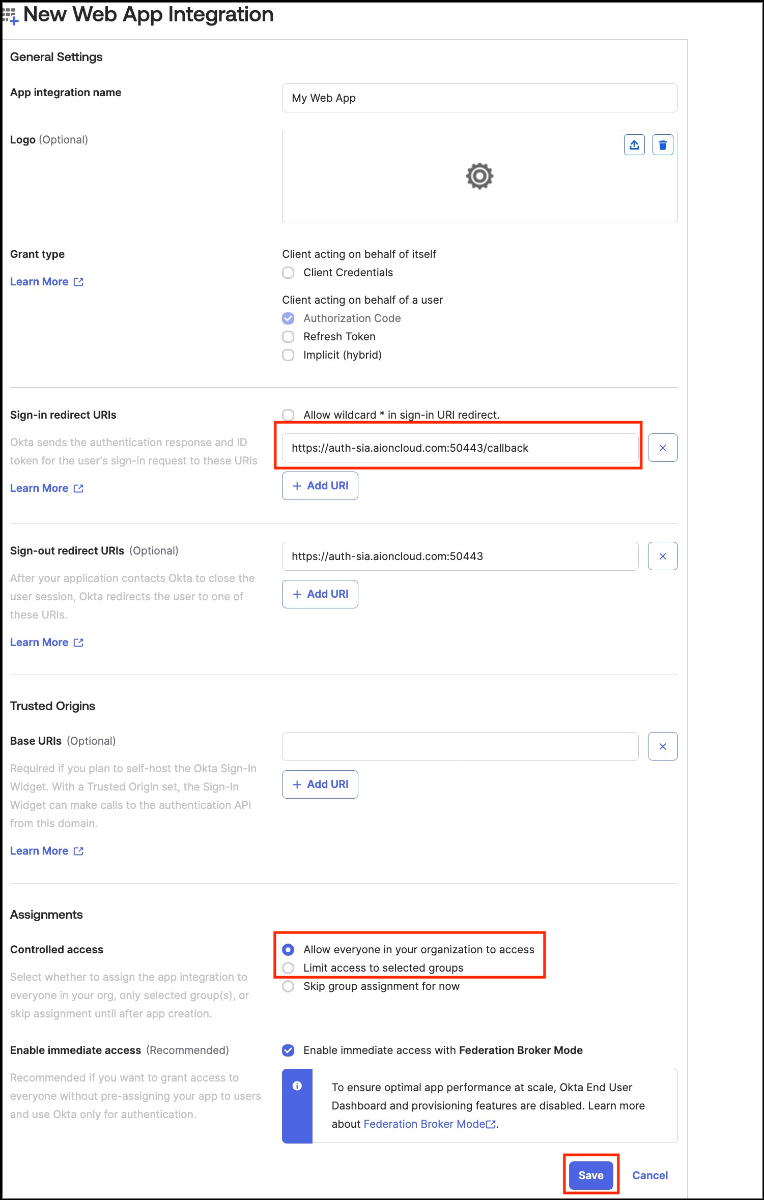
④ Enter the New Integration details and click the Save button to save.
- Sign-in redirect URIs: Enter the redirect URI value obtained when creating SSO in the SIA Console.
- Controlled access: Select Allow everyone in your organization to access for all users,
or Limit access to selected groups for specific users.

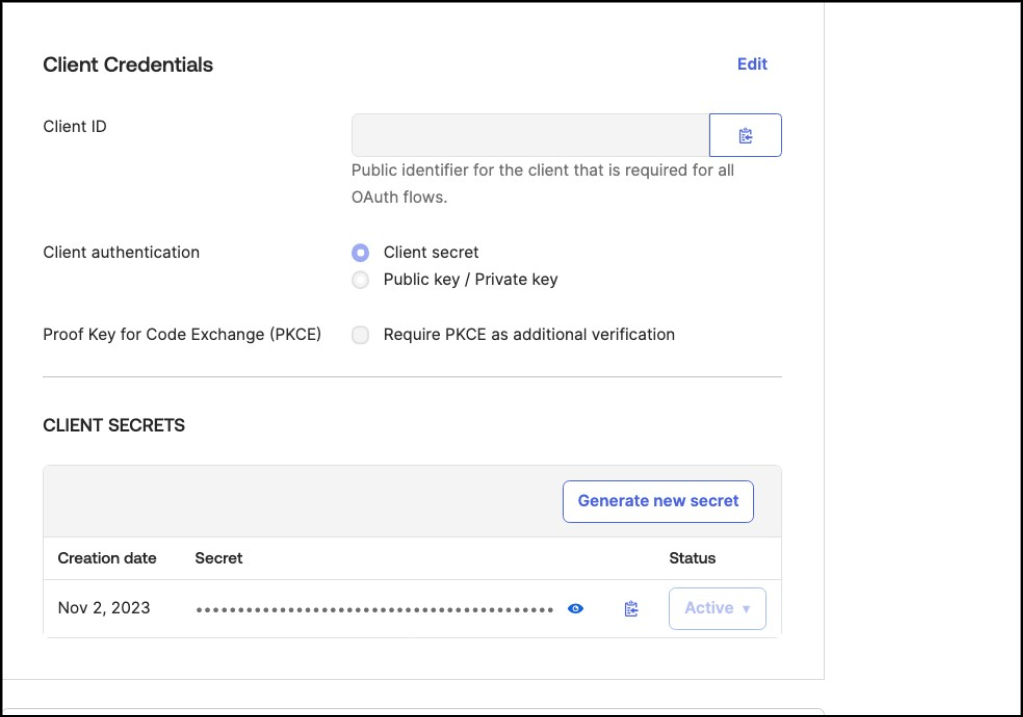
⑤ In the General tab, save the Client ID and Client Secret values.

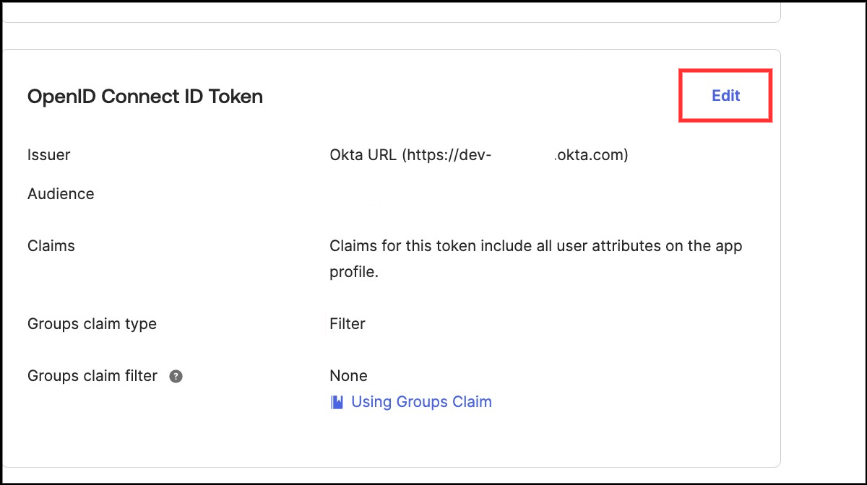
⑥ In the Sign On tab, click the Edit button for OpenID Connect ID Token.

⑦ Change the Issuer to the Okta URL and set the Claim name in the Groups claim filter to blank.
Click the Save button to save the changes.
2. Create and Apply Provisioning
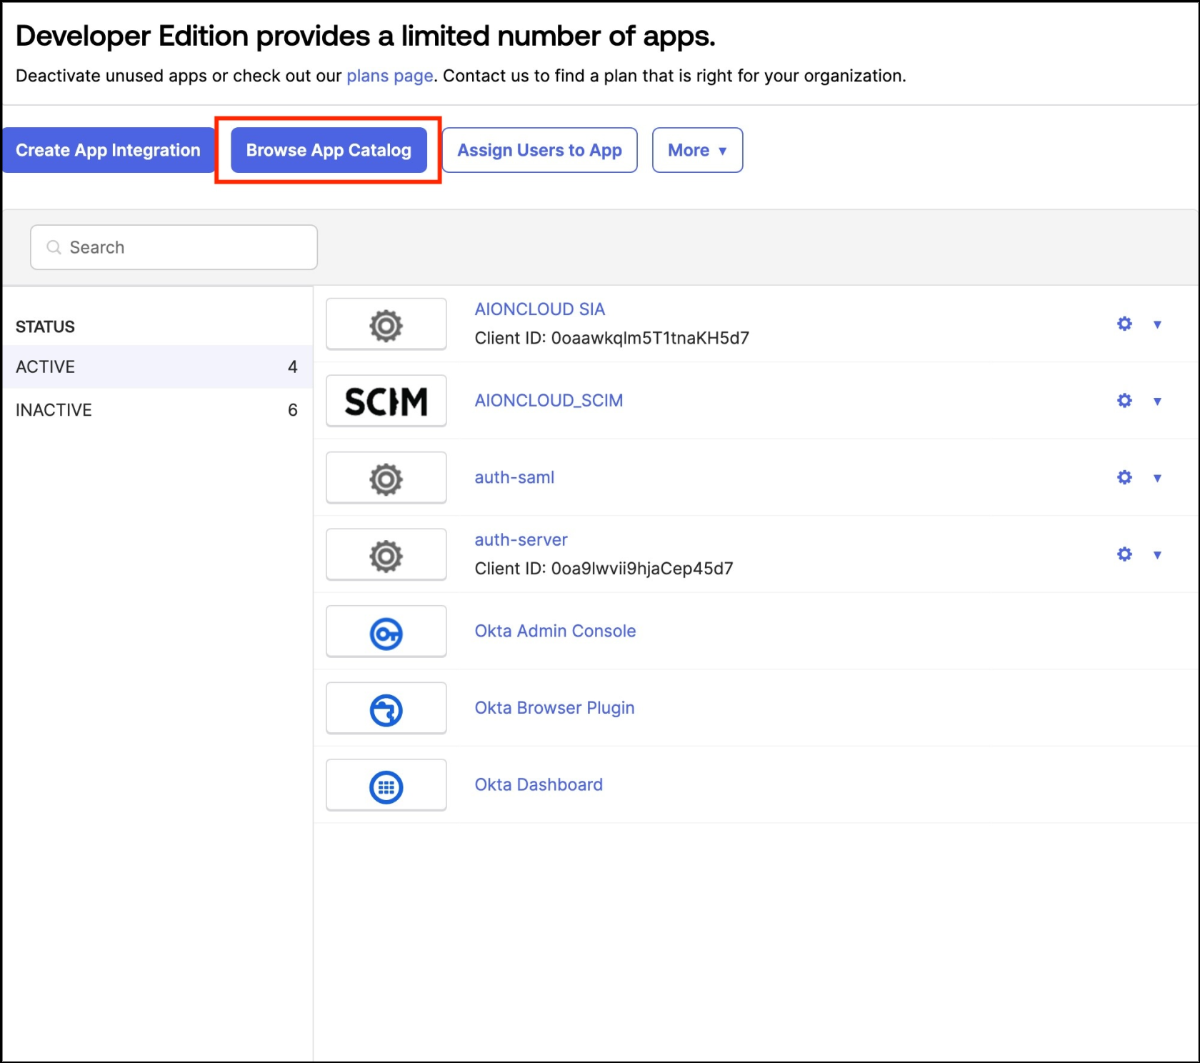
① Click the Browse App Catalog button to explore the catalog.
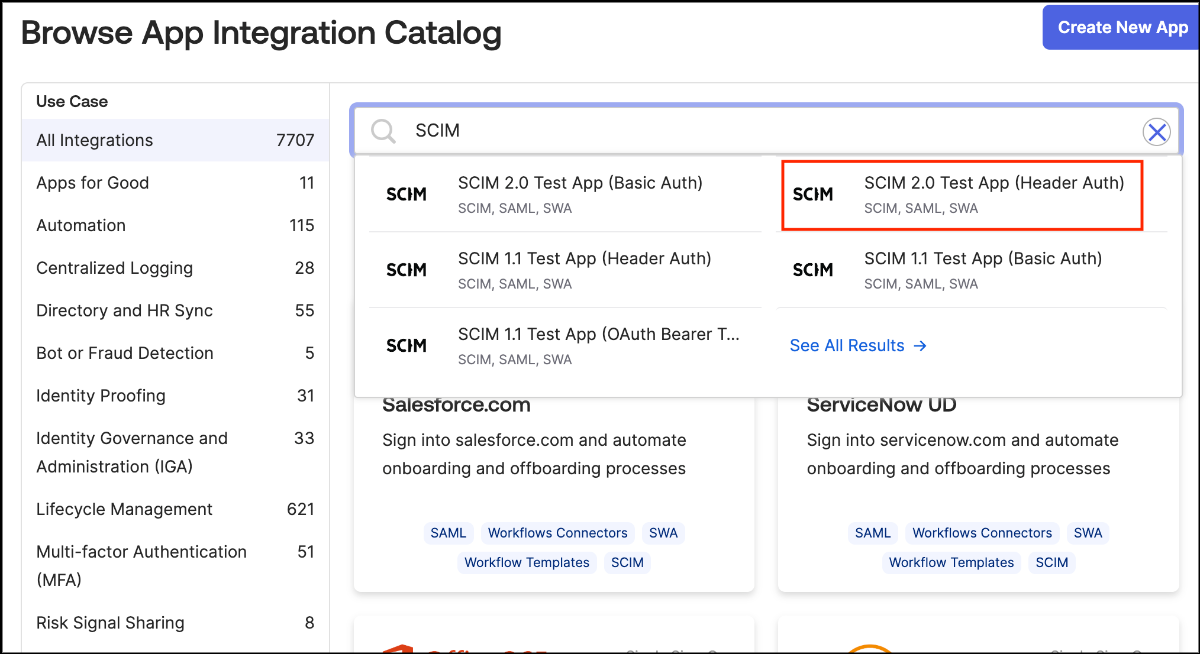
② Search for SCIM and select the SCIM 2.0 Test App (Header Auth) app from the results.
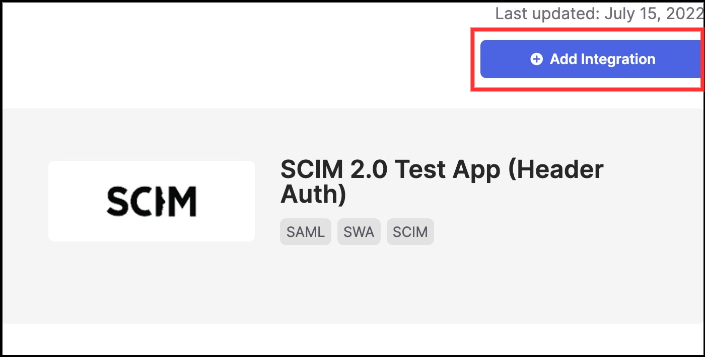
③ Click the Add Integration button to add the application.
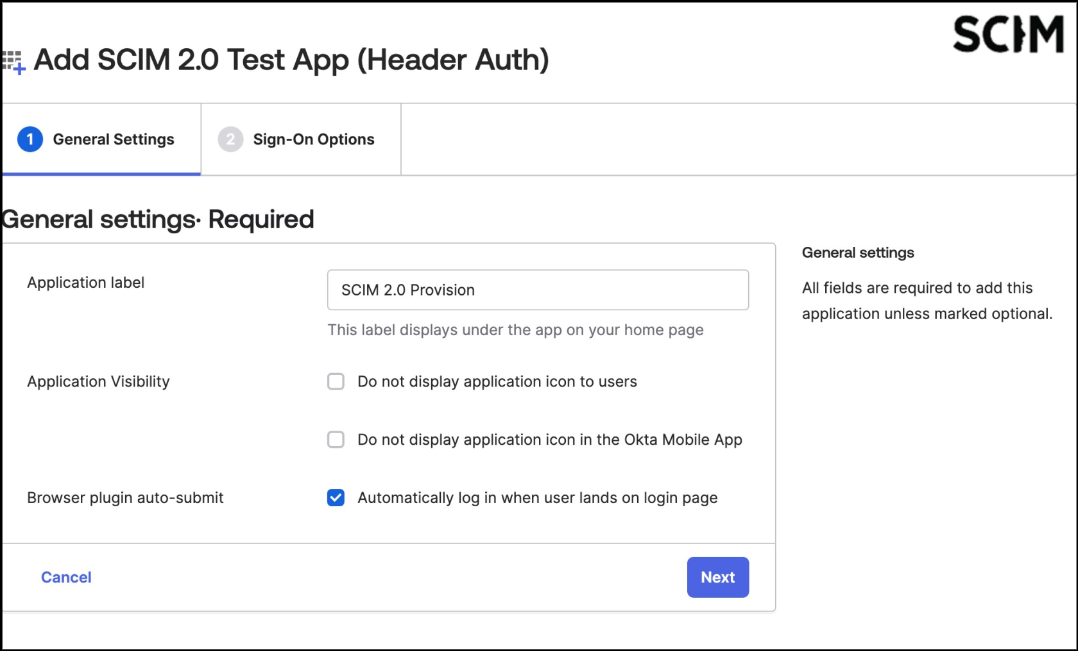
④ Set the label and then click the Next button.
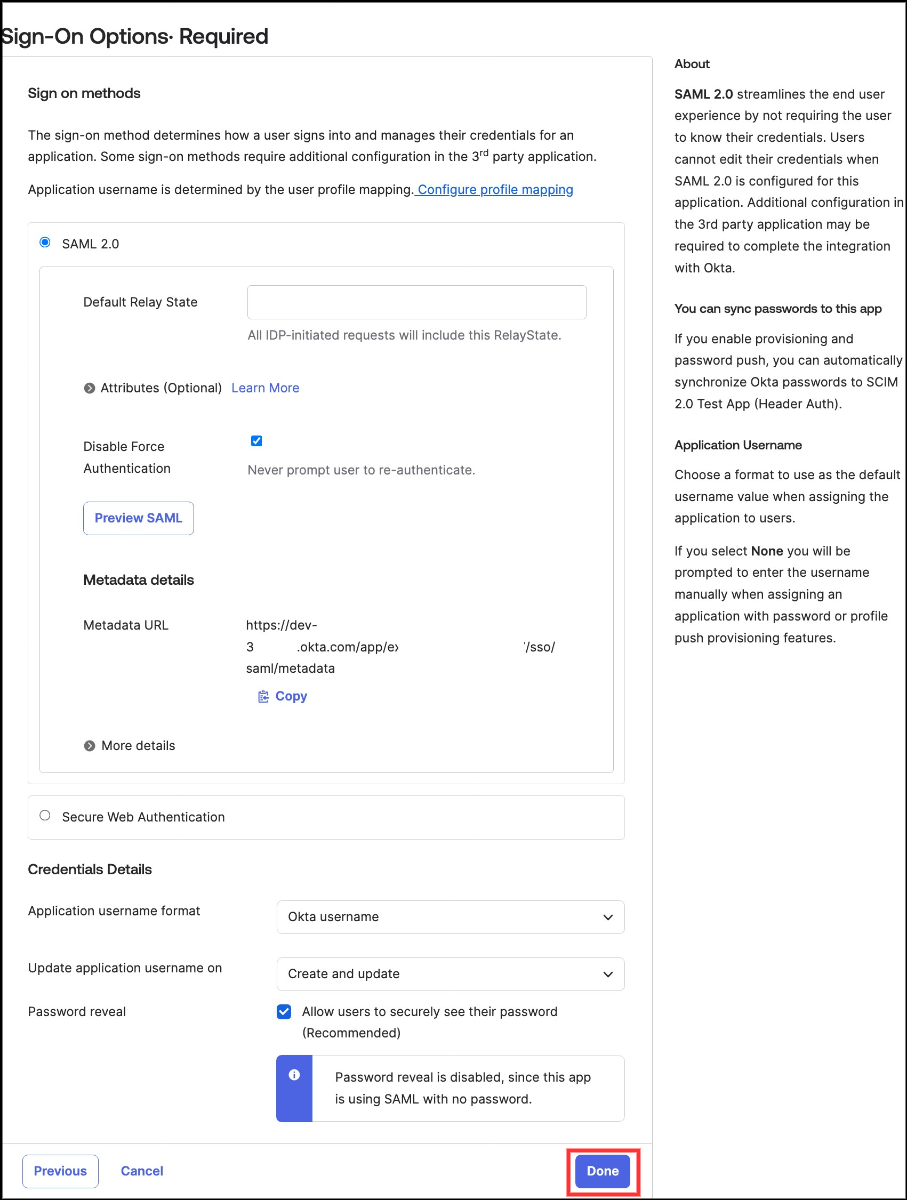
⑤ On the Sign On Options page, click the Done button to finish the setup without making any additional changes.
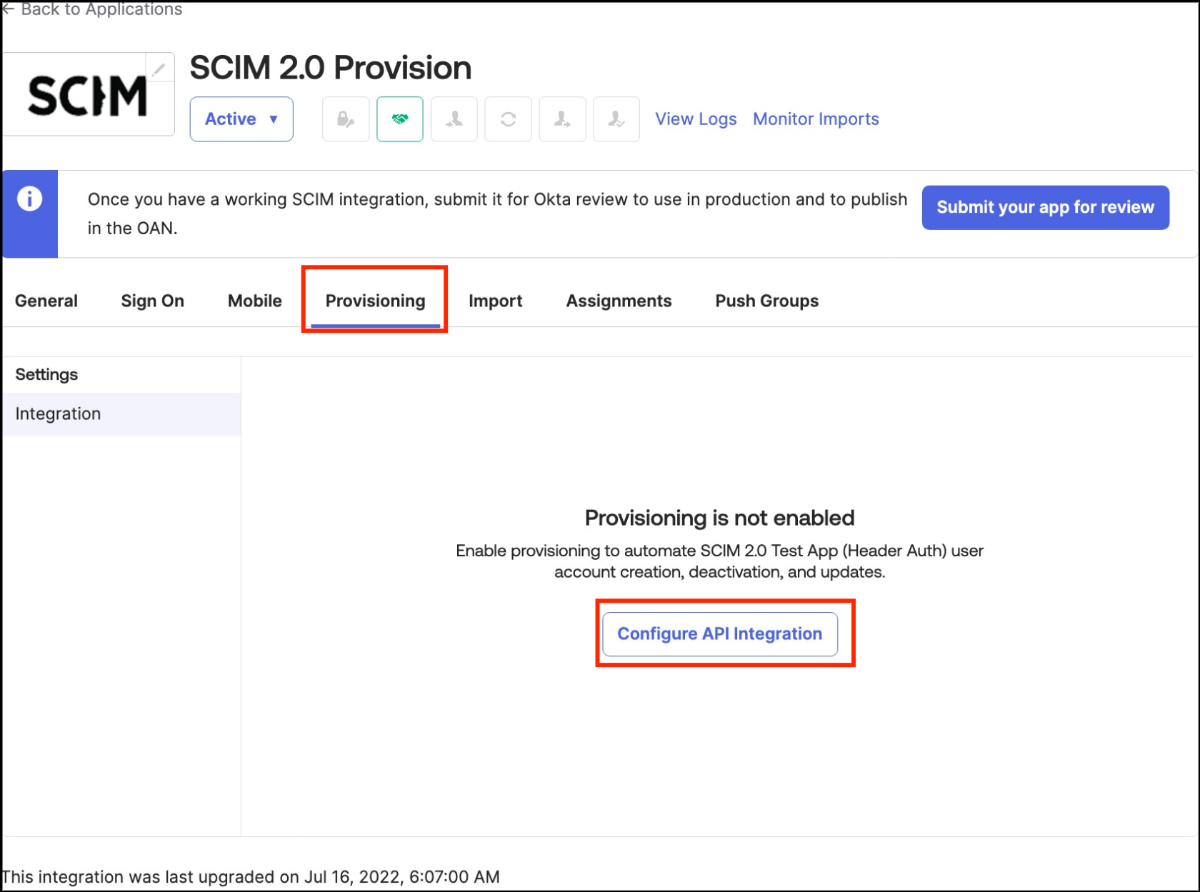
⑥ In the Provisioning tab, click Configure API Integration.
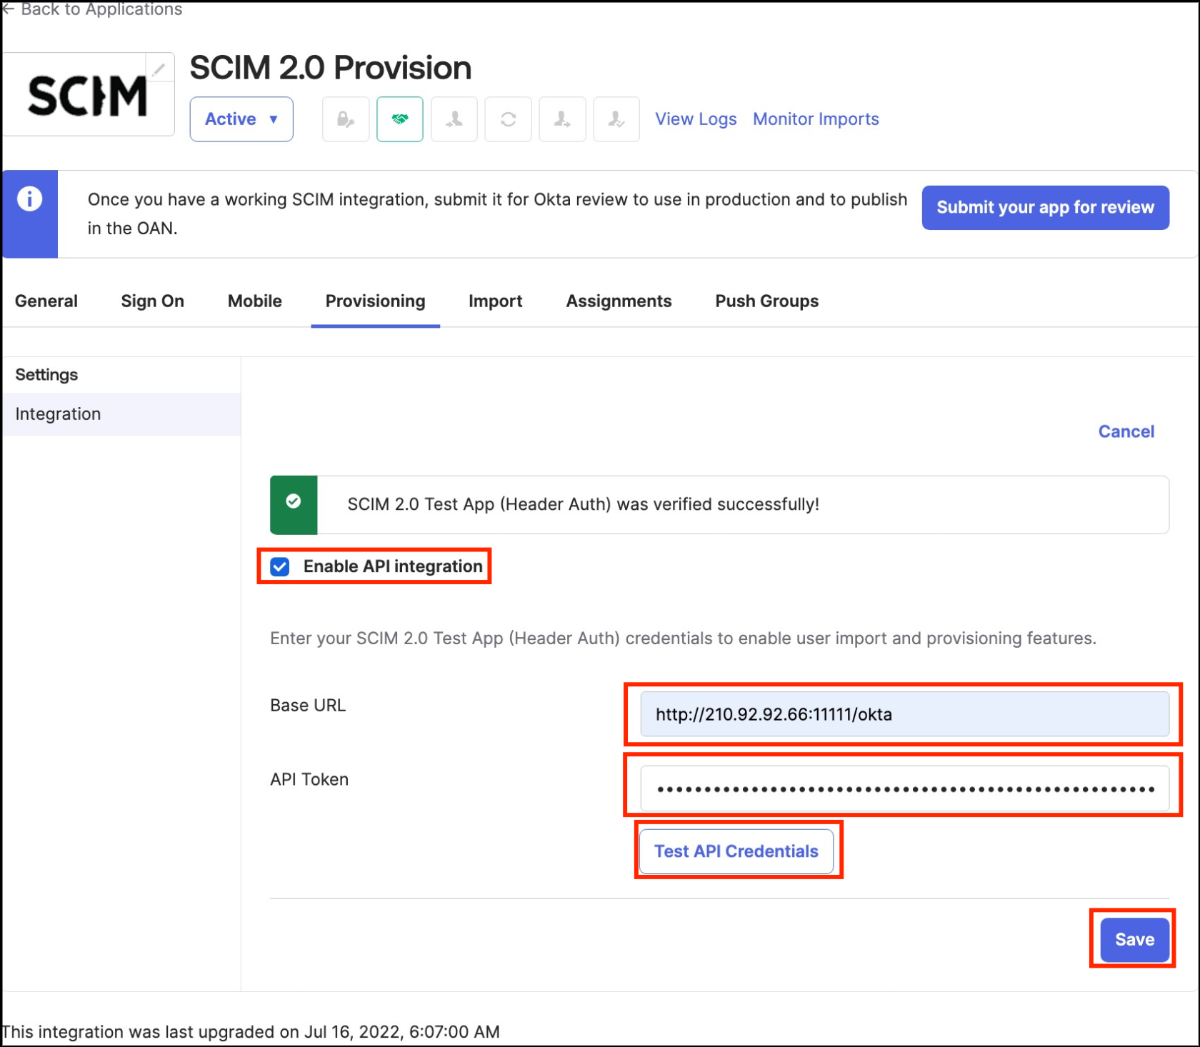
⑦ Enable API integration, then enter the Base URL and scim_token provided by SIA.
Click the Test API Credentials button to verify the connection.
If the connection is successful, click the Save button to complete the setup.