Azure AD Configuration Guide
SSO Azure AD Setup Guide
This is a guide to creating an Azure AD application and applying SSO login.
1. Create Application
- After connecting to Entra ID as the desired tenant
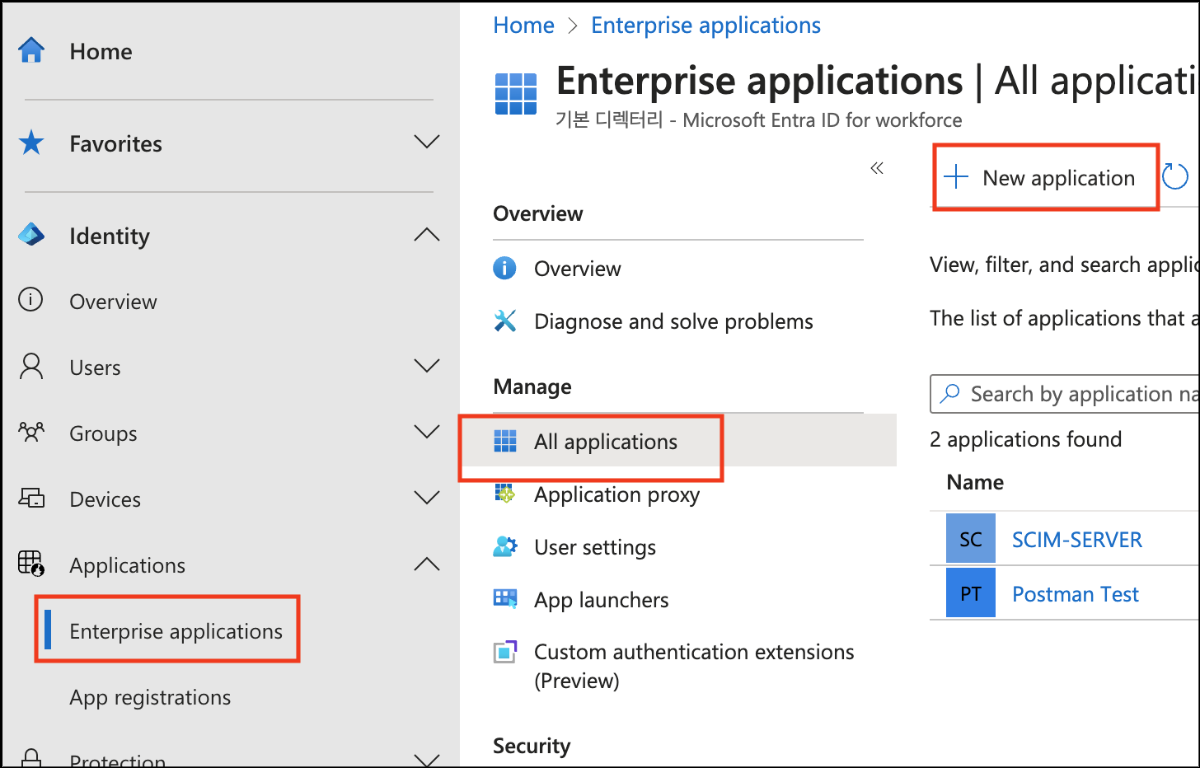
- Click the Enterprise applications item.
- Go to the All applications tab and click New application.
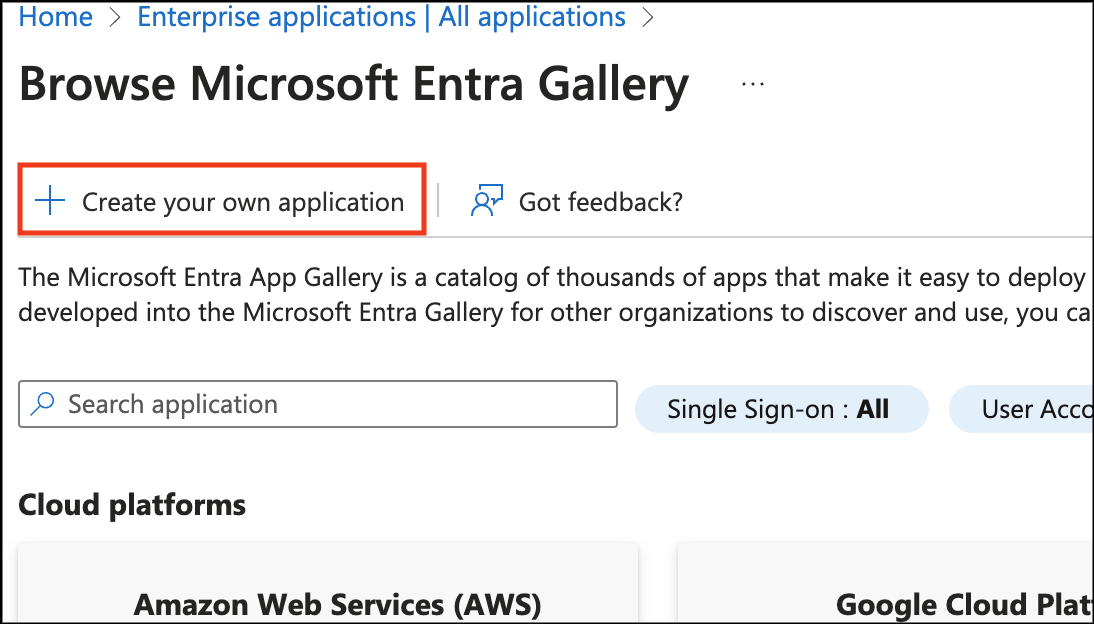
- Click Create your own application.
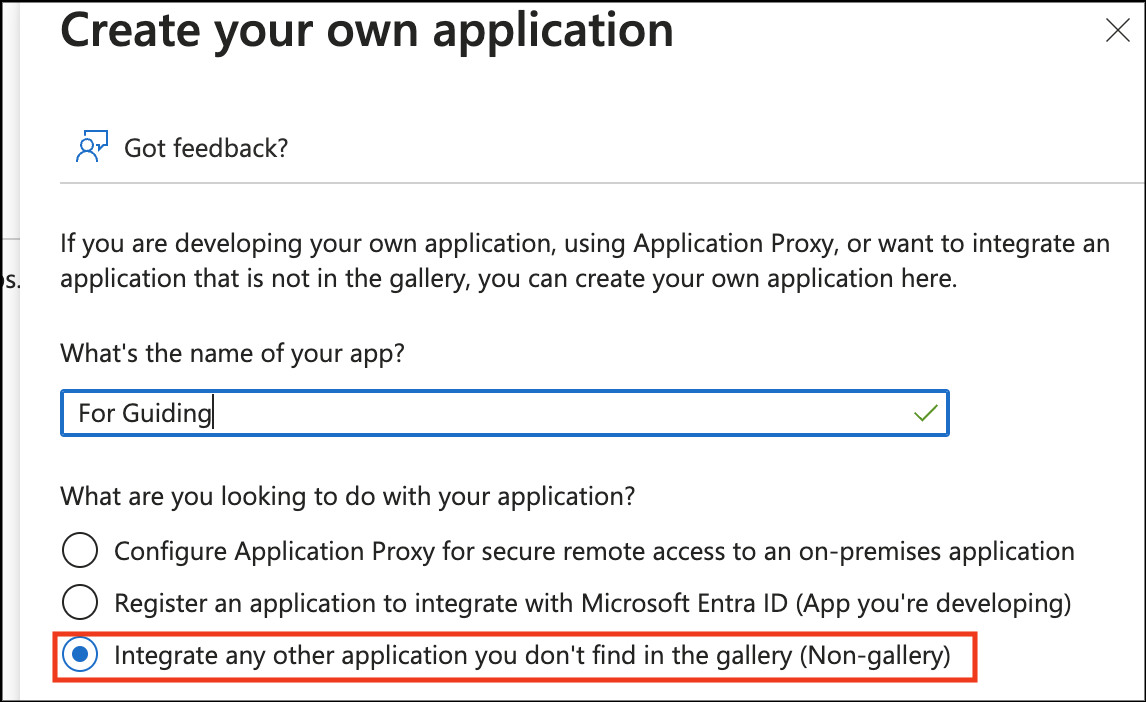
- Enter the desired app name
- Select “Integrate any other application you don't find in the gallery (Non-gallery)”
- click the Create button at the bottom.
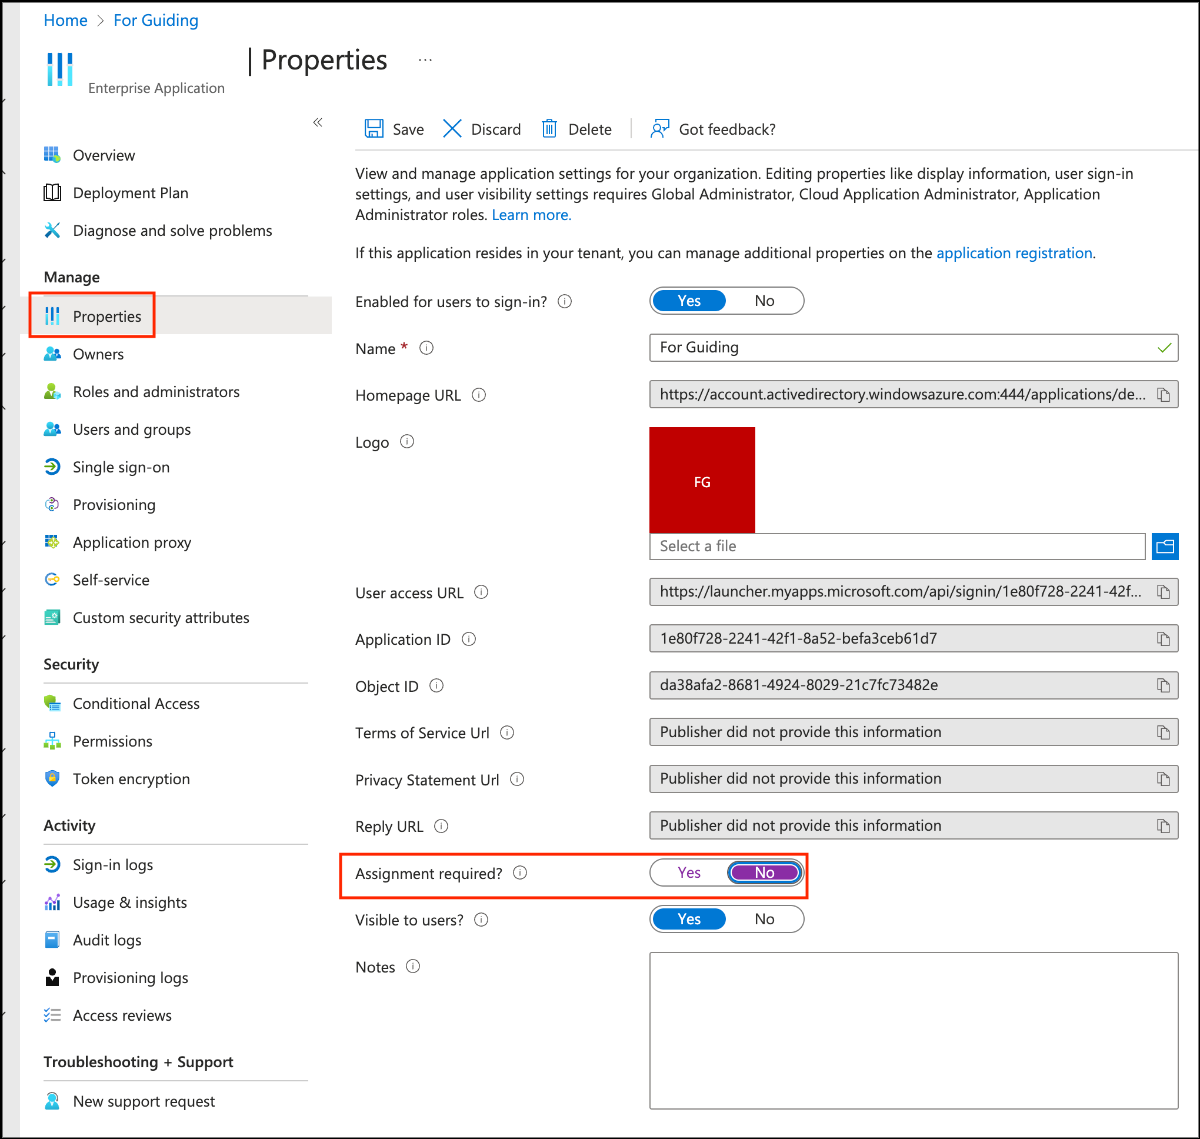
- In the Properties tab, disable "Assignment required?" to allow all users added in the future to use the application without separate assignment.
2. Apply Provisioning
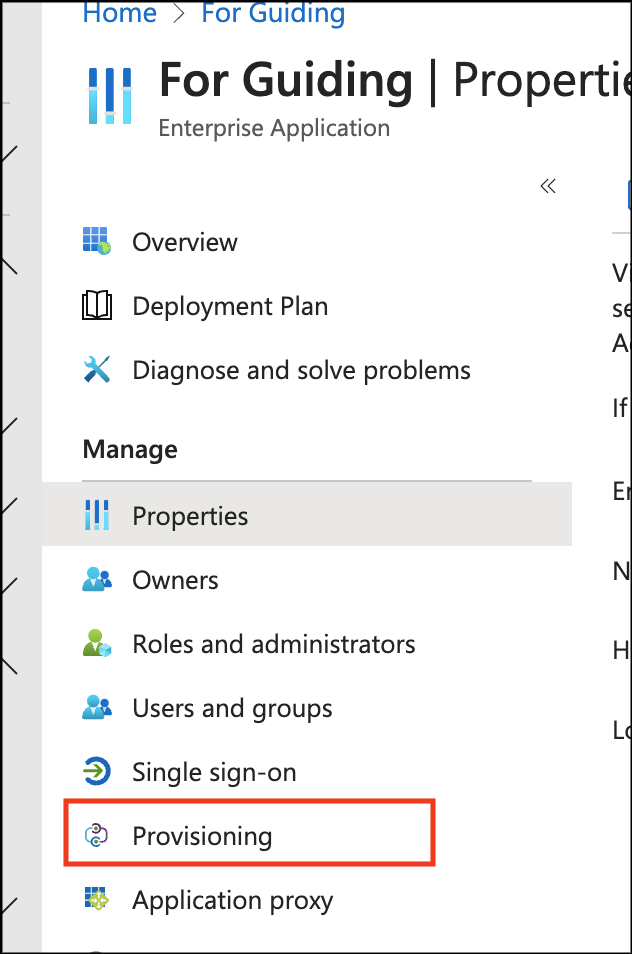
- Click the Provisioning tab.
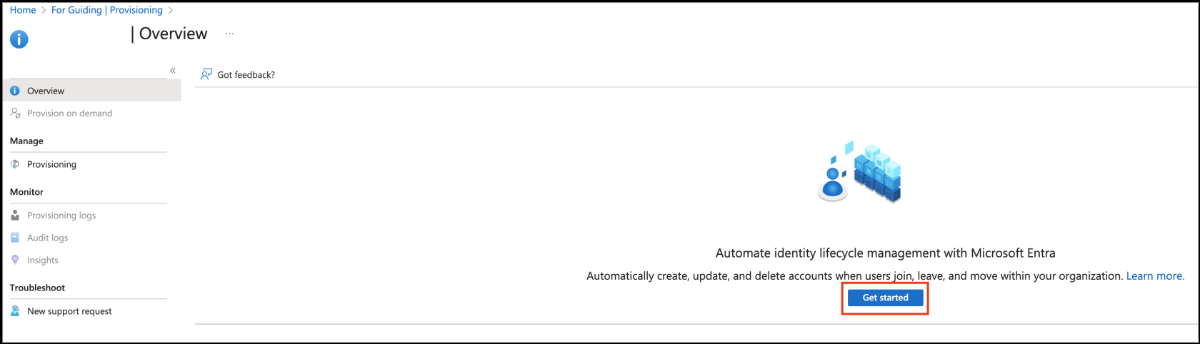
- Click the Get started button to configure provisioning.
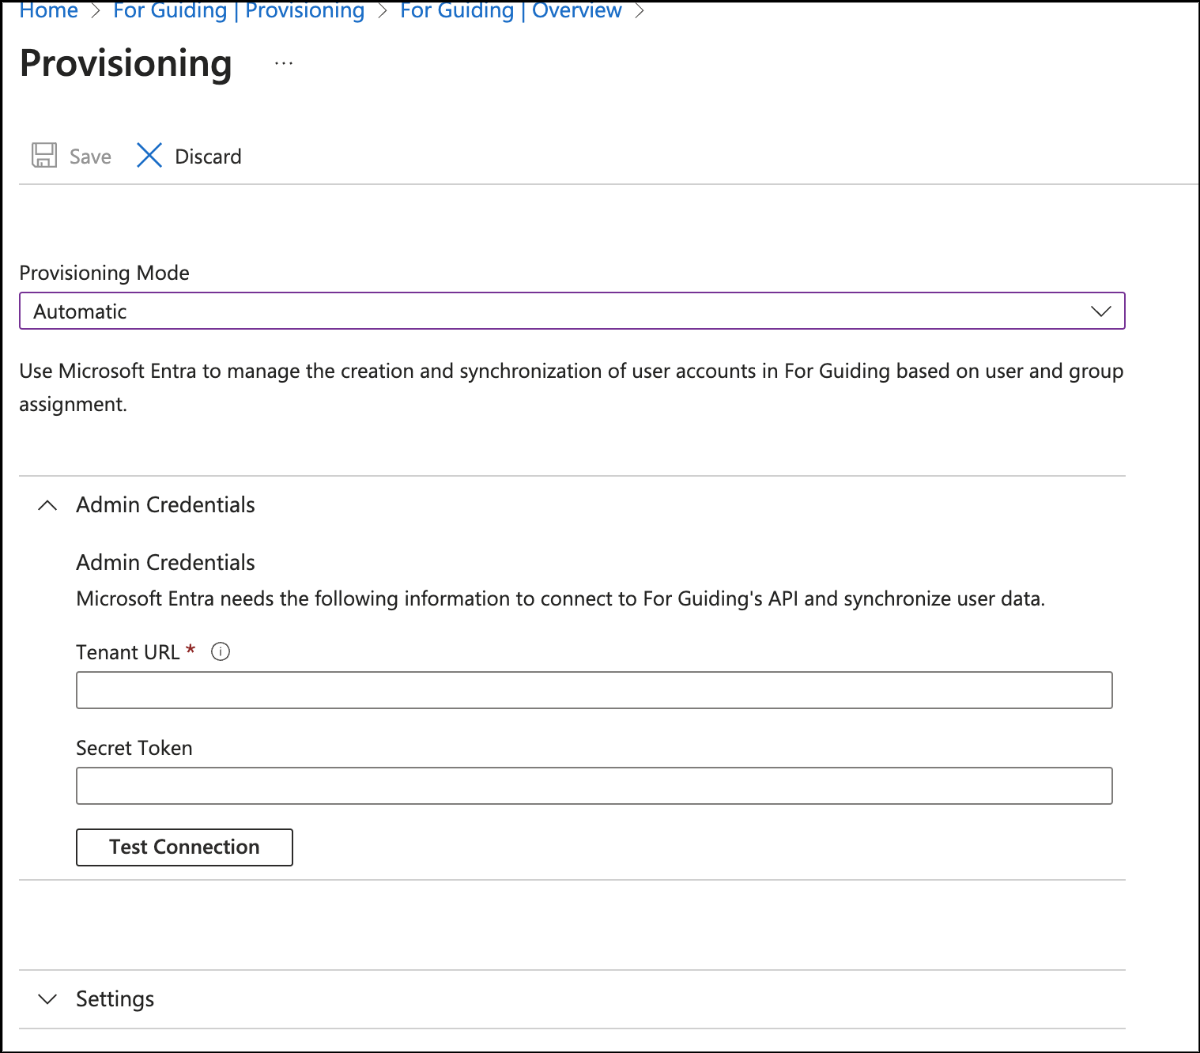
- Change the provisioning mode to Automatic and fill in the Administrator Credentials section.
- Tenant URL : SCIM Server URI provided by SIA
- Secret Token : SCIM Token provided by SIA
- Click Test Connection to check if the connection is correct. If all goes well, click the Save button at the top.

- Click
Set application name| overview at the top to re-enter the provisioning screen.
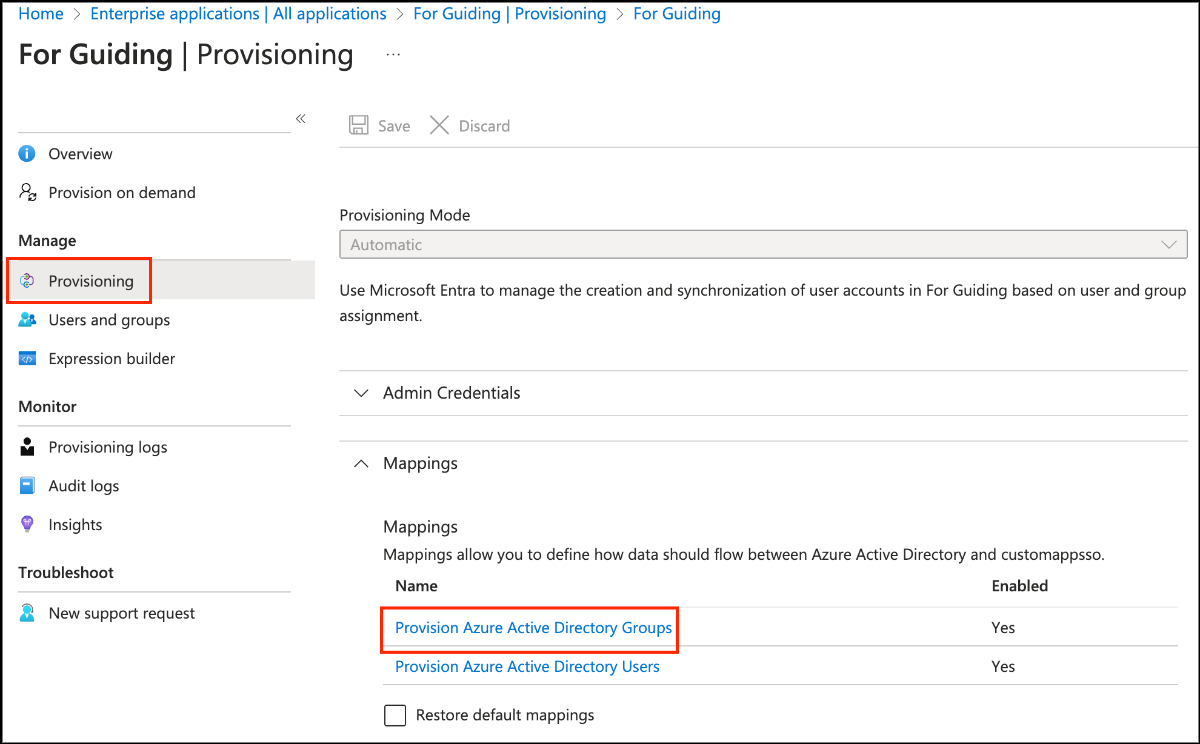
- Click the Provisioning tab and then click Provision Azure Active Directory Groups.
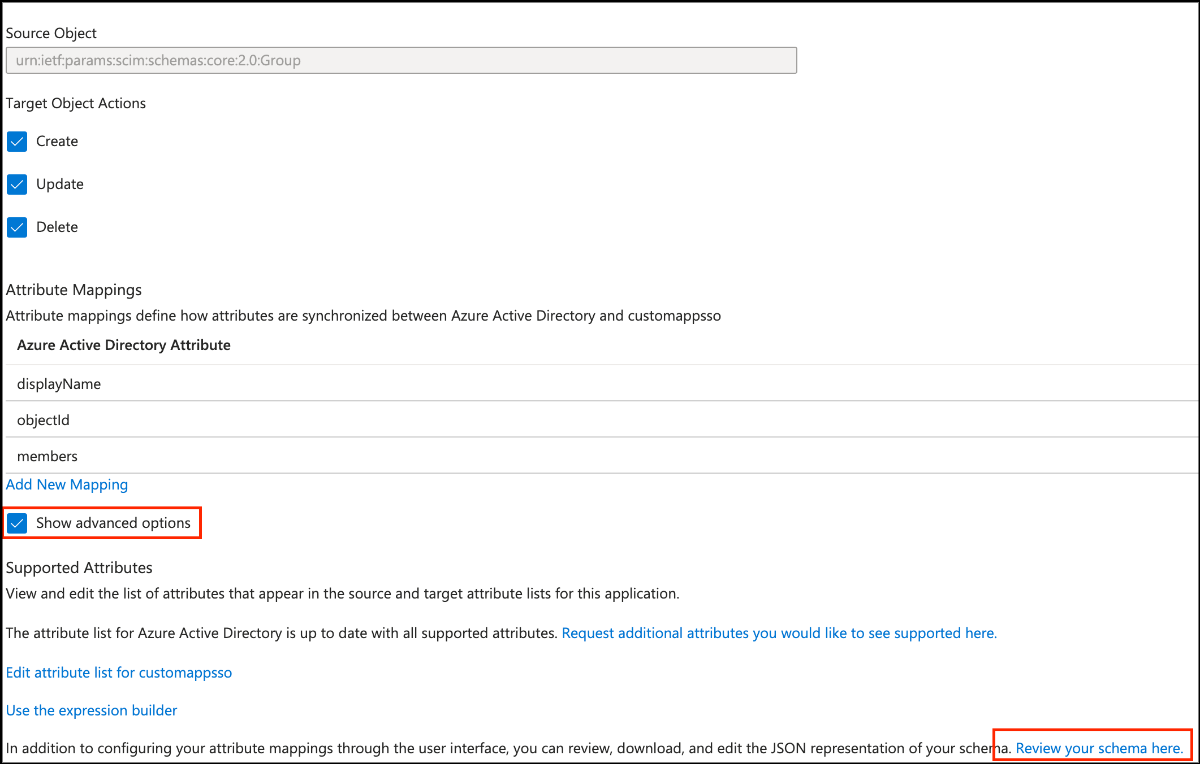
- Select Show advanced options,
- Click Review your schema here to go to the Edit Schema window.
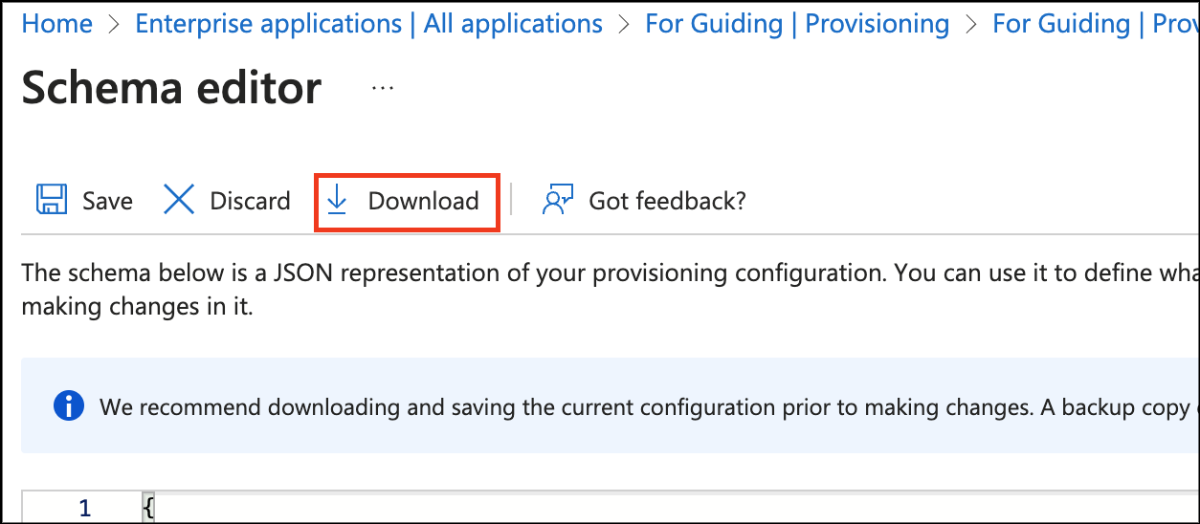
- Click the Download button to download the schema.json file.
- Change the file contents to the script provided by SIA.
- Replace the changed schema with the code in the schema editor and then click the Save button to apply it.
- Note: It takes a long time to apply the schema after saving it.

- On the Provisioning tab, change the scope to [Sync all users and groups] and save.
- If the changed schema is applied and the attribute mapping of Groups and Users changes
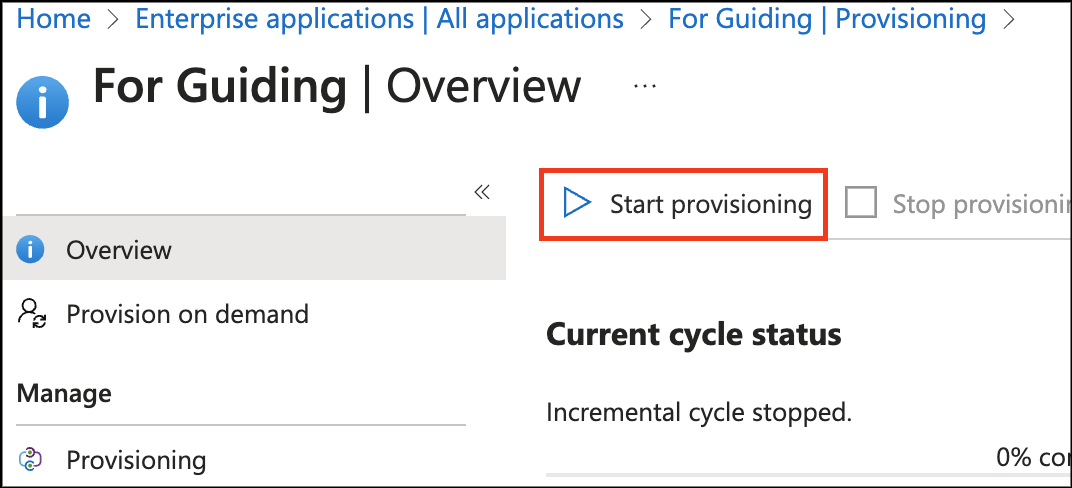
- In the Overview tab, click Start Provisioning to proceed with provisioning.
3. Apply SSO login (OIDC)
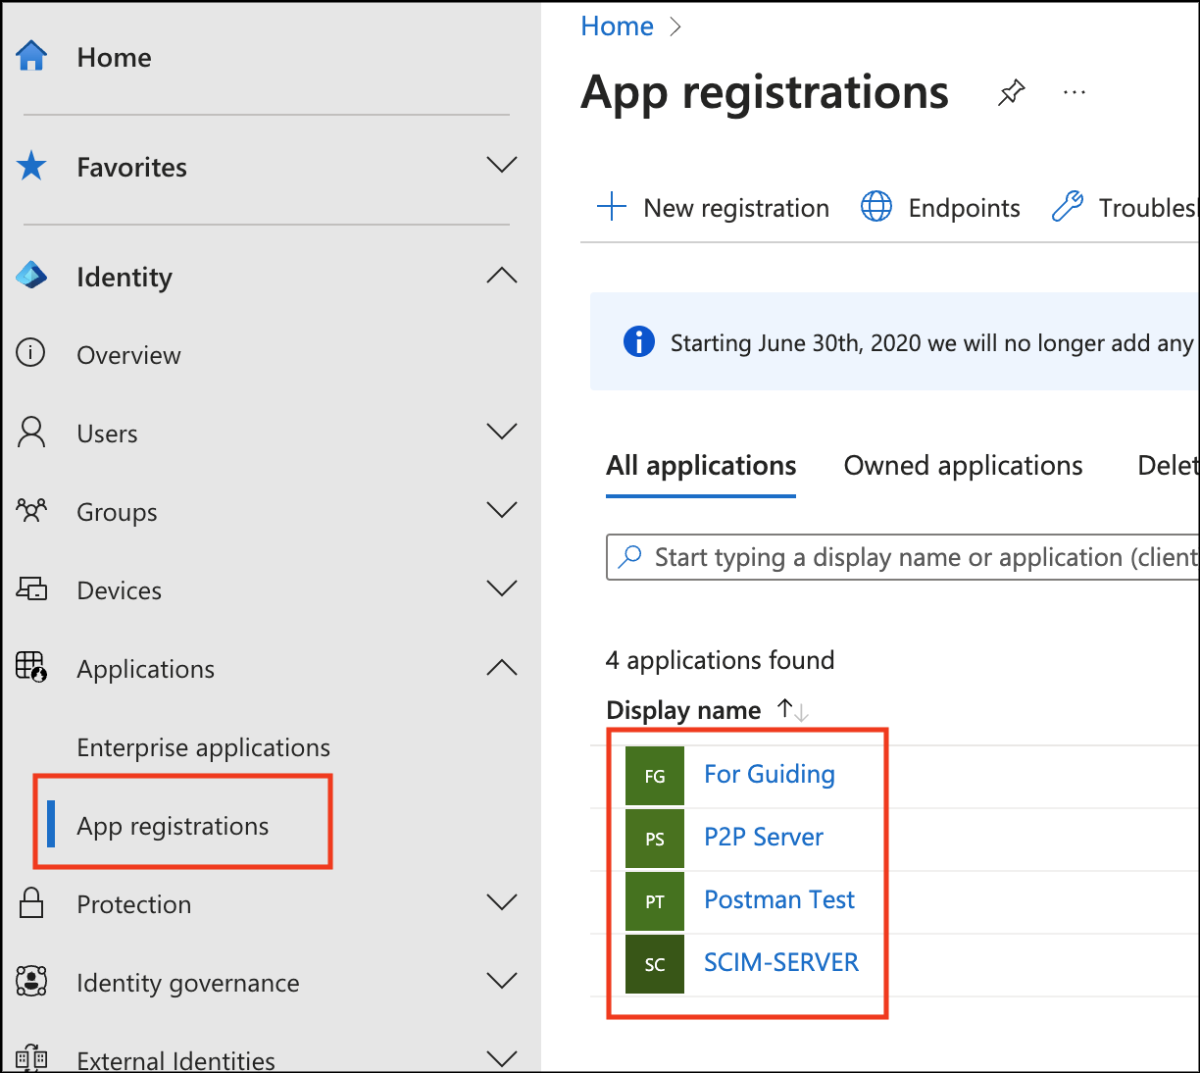
- Click the App Registrations tab, then find and select the application you just created.
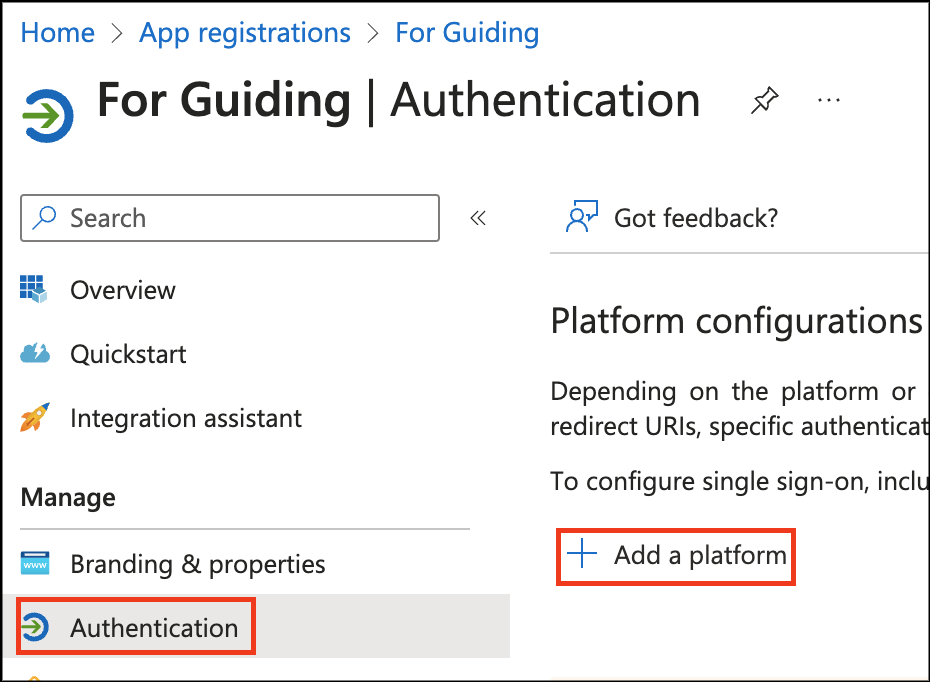
- Click the Authentication tab to go to the SSO settings page.
- In the Platform Configuration section click Add a platform.
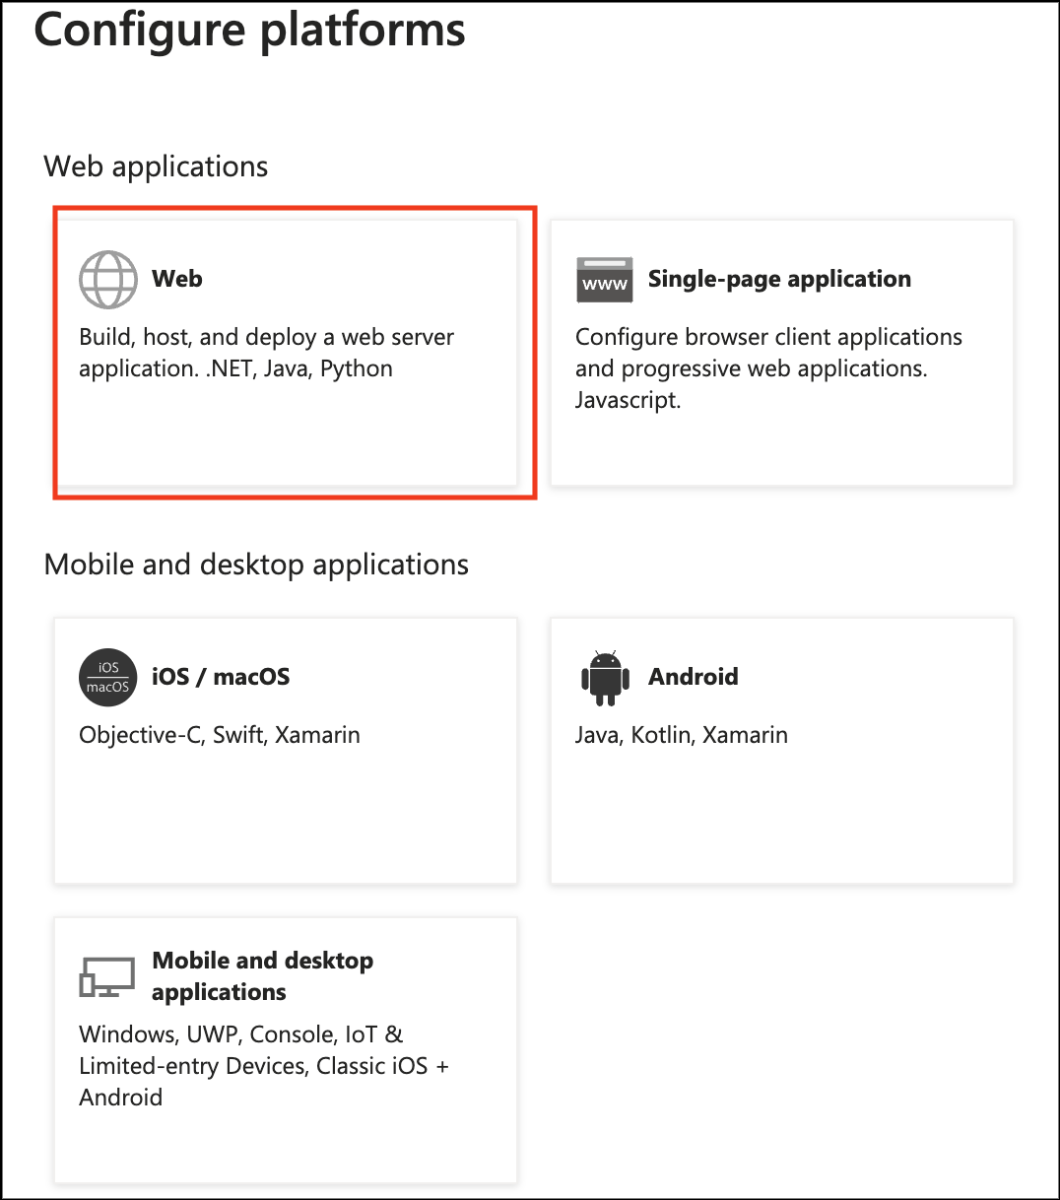
- When the panel above appears, select the Web item.
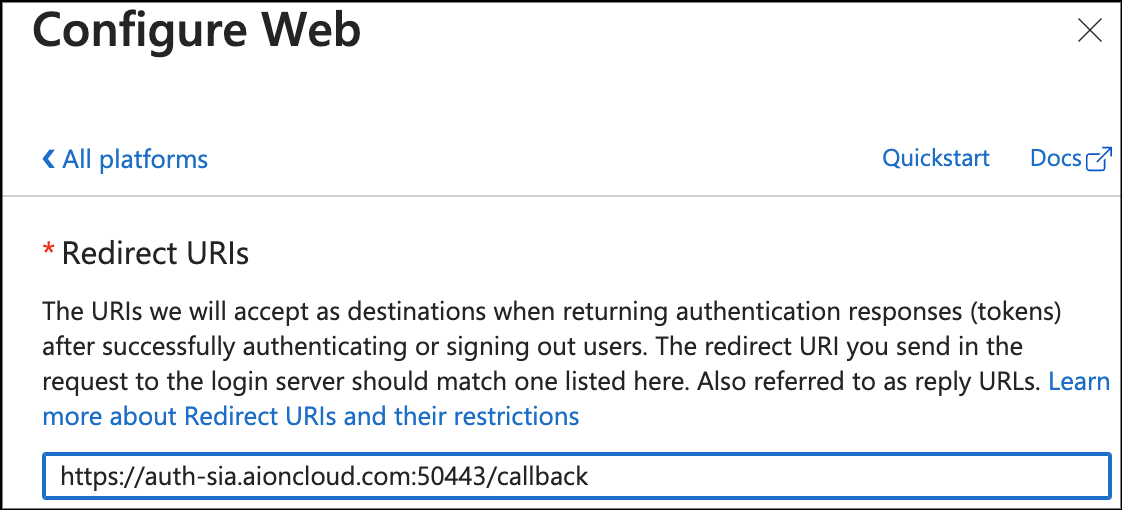
- Enter the redirection URI that you previously found in SIA Console.

- Click the Configure button to save your settings.
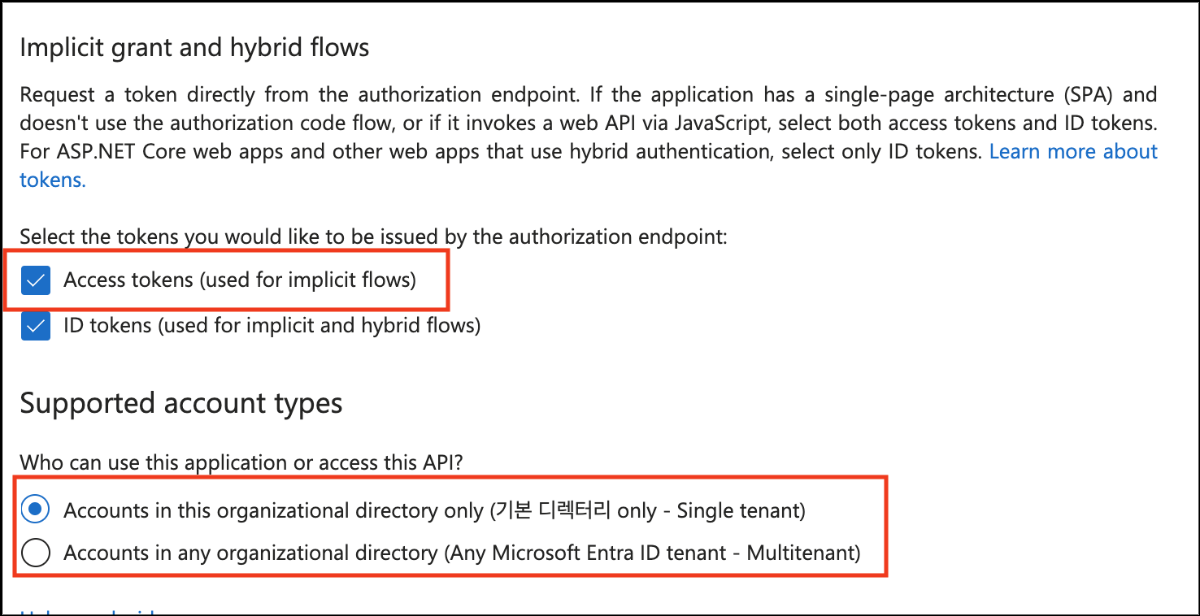
- On the Settings page, select to use an Access tokens and save it.
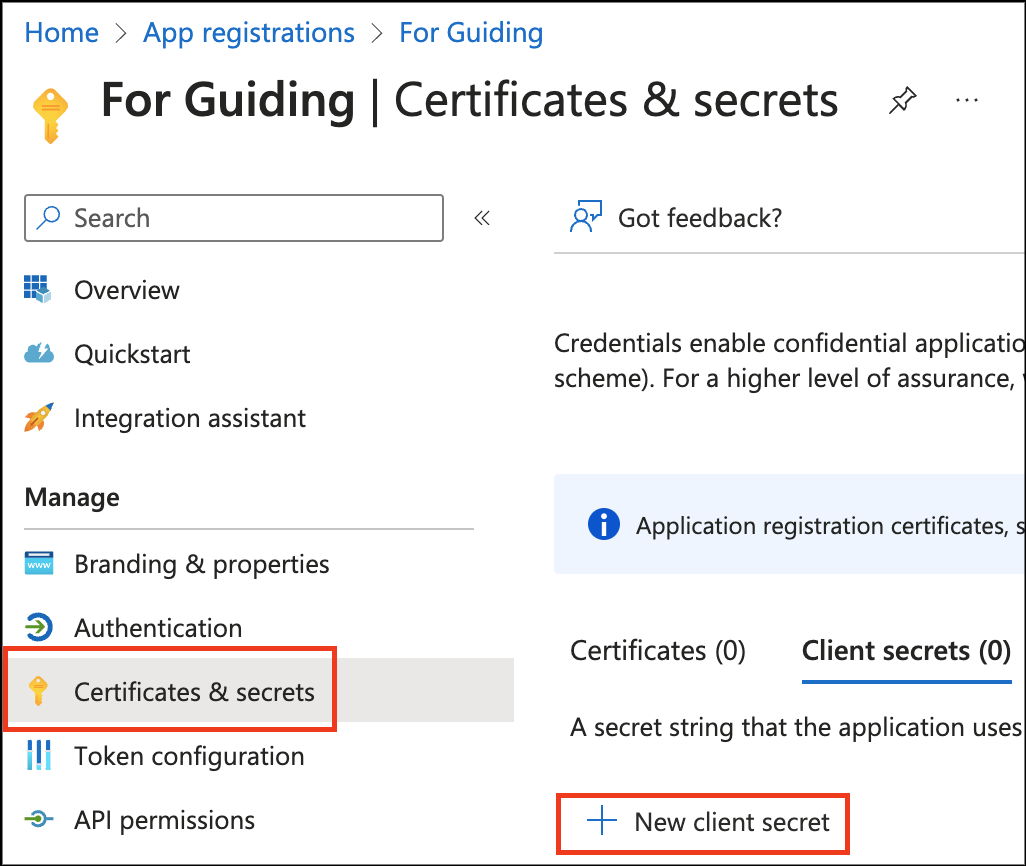
- In the Certificates & Secrets tab, click New client secret.
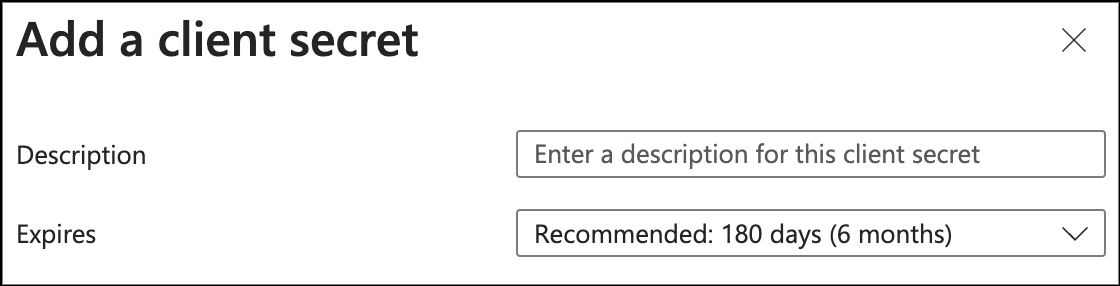
- In the Add Client Secret panel, enter a description and add it.

This is the value required in the Secret Key section when creating SSO in the AIONCLOUD Console.
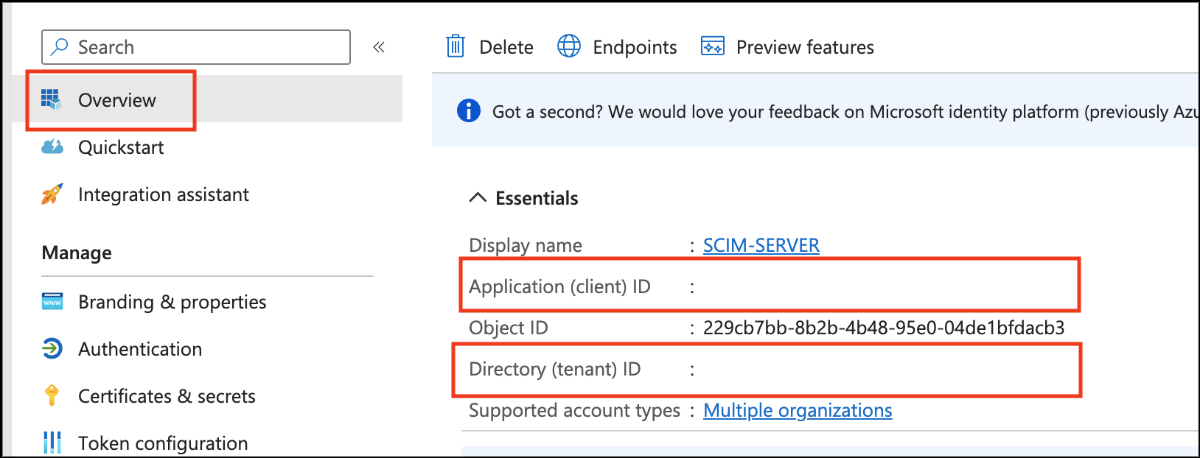
- In the Overview tab and check your Client ID and Tenant ID.
Application(client) ID: This is the value required in the Client ID section when creating SSO in the AIONCLOUD Console.
Directory(tenant) ID: Combine it with Microsoft's Entra ID and Tenant address and enter it into your domain.
Enter in the form https://login.microsoftoneline.com/<Tenant ID>/v2.0.