Google Cloud Configuration Guide
This page will give instructions on how to integrate the SSE with Google SSO.
Step 1: Create a project in Google Cloud
Click Select Project > New Project.
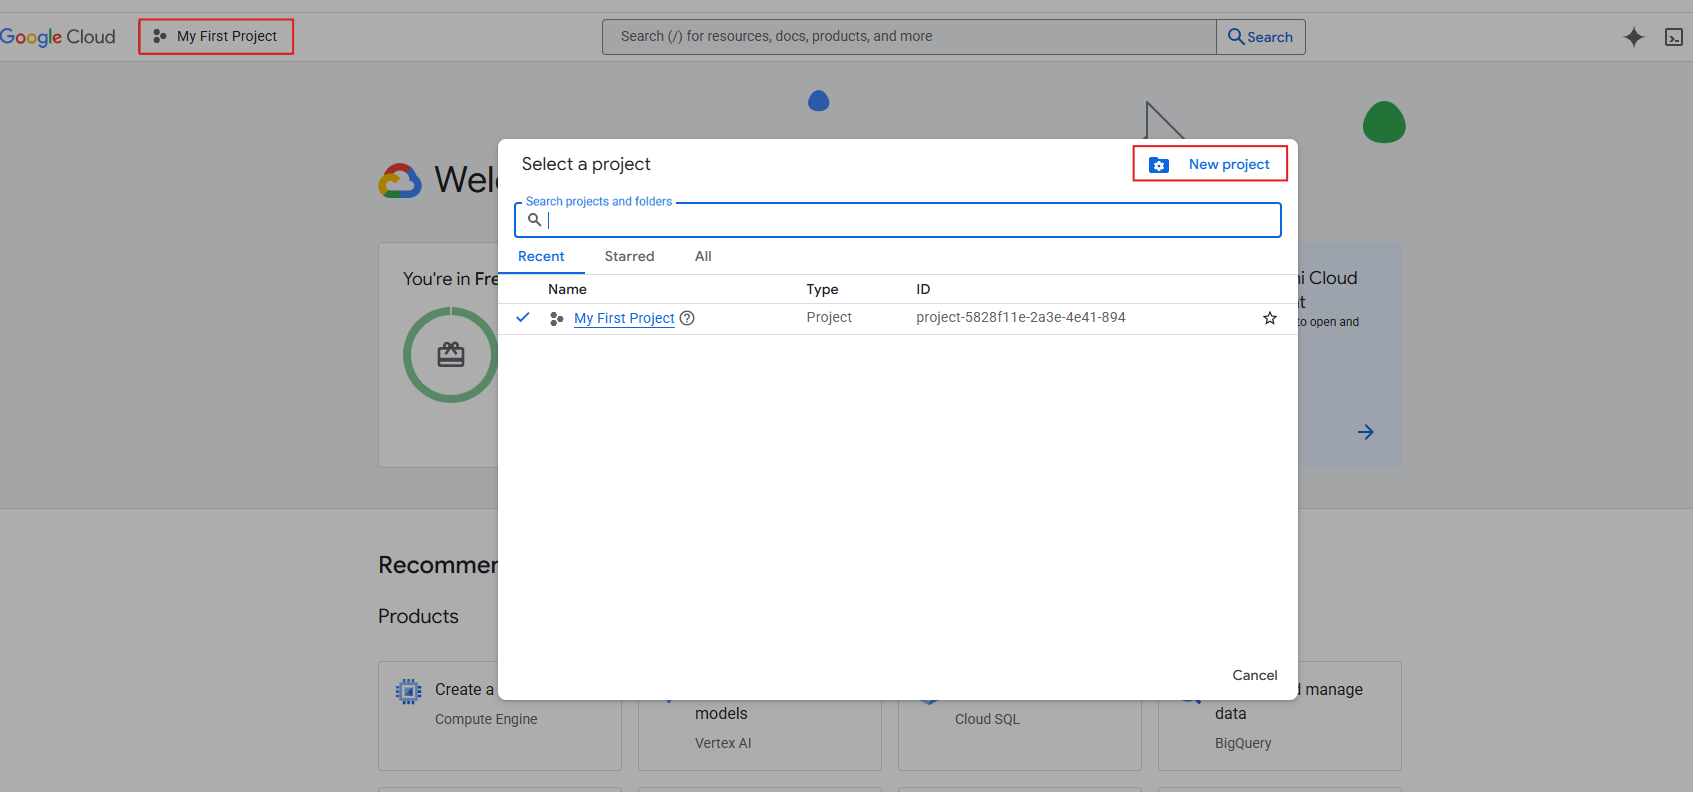
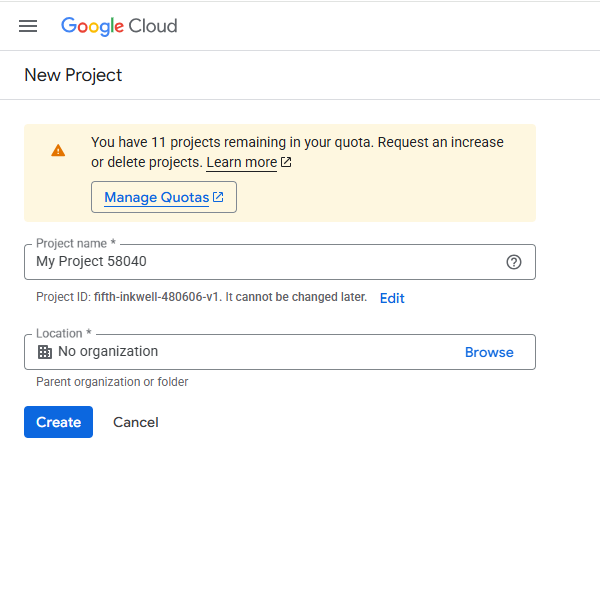
Enter the project name and click Create.
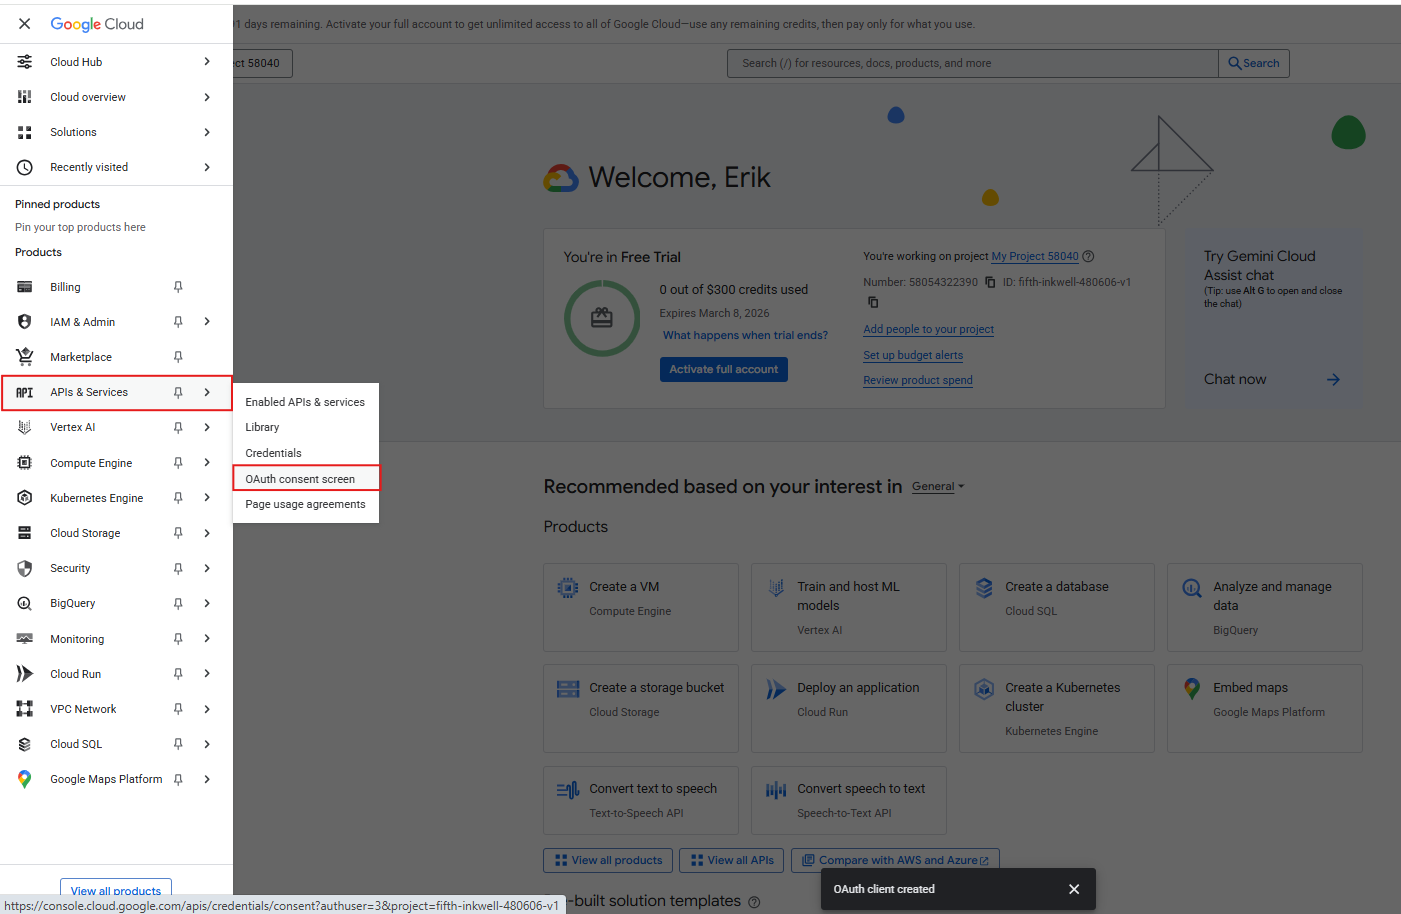
Step 2: Create an OAuth
APIs and Services > OAuth Consent Screen:
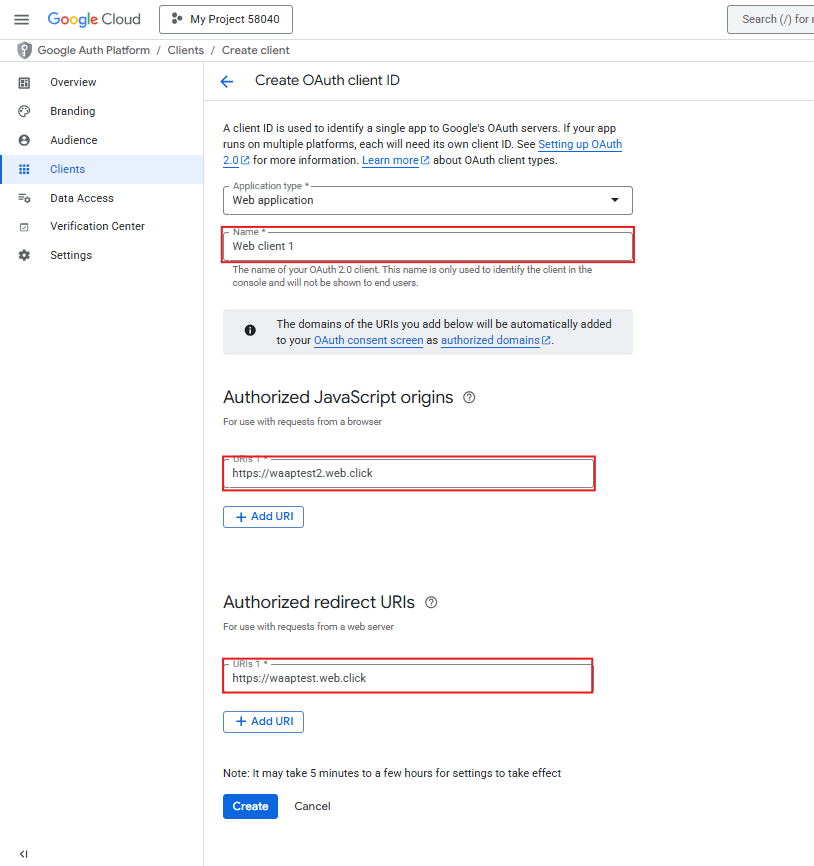
Next, go to Client > Create Client.
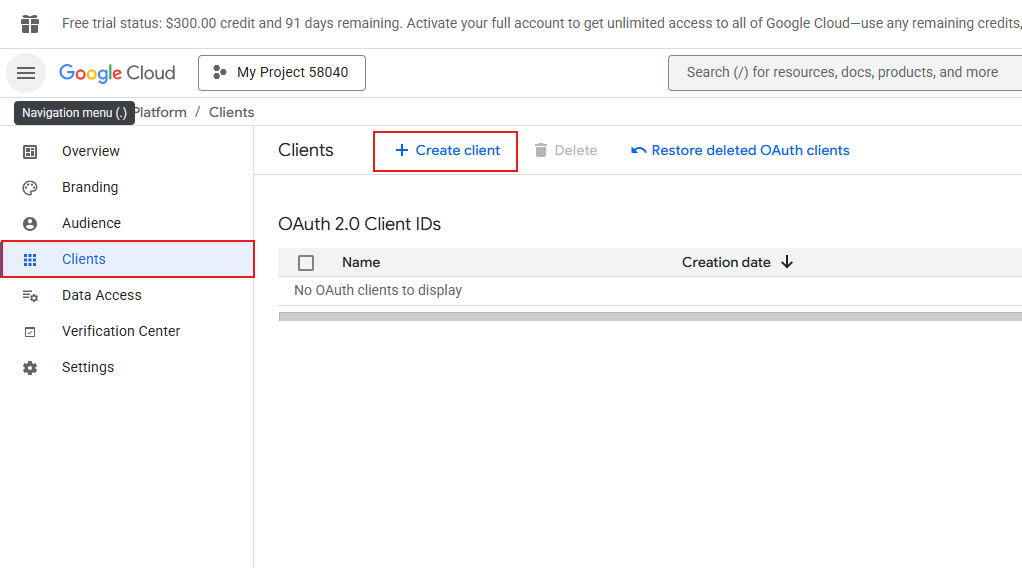
Next, enter the requested information:
- Name: Client Name
- Browser Request URI: Console URI
- Web server request URI: 'Auth URI'/callback
- Create after input
Step 3: Create an OAuth client ID and password
The Client ID and Client secret password will be automatically created. Note the information:

Step 4: Add Google to the Create/Edit SSO tab modal in the Console > Login Settings tab.
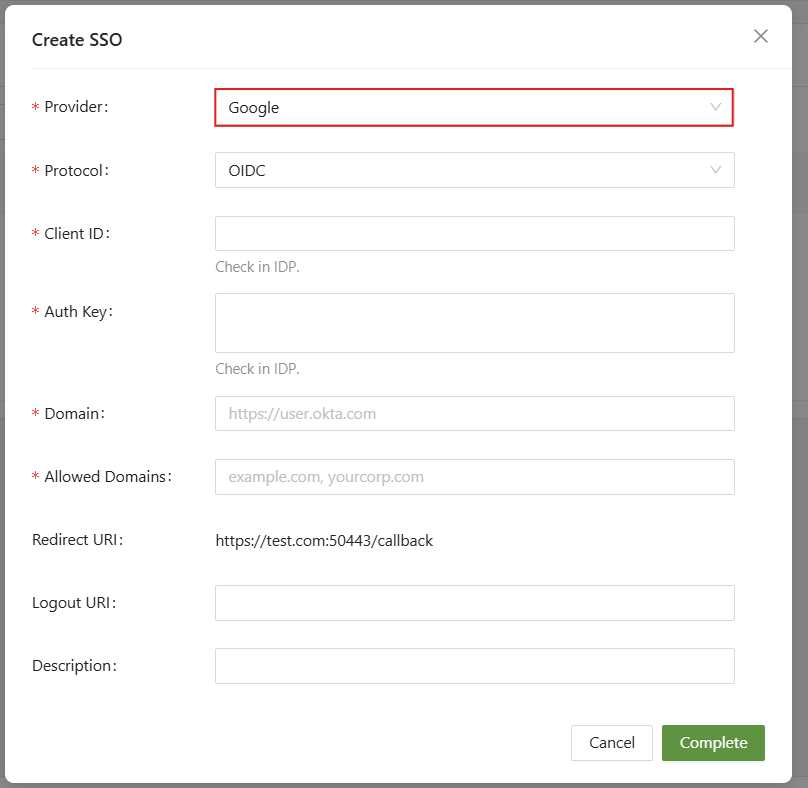
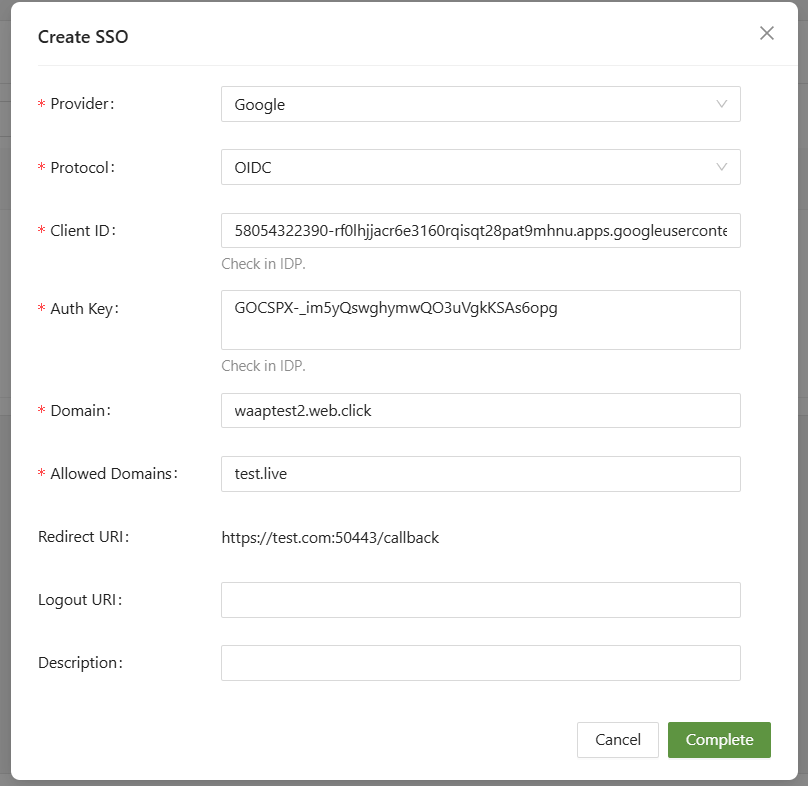
Step 5: SSO tab > Add Google Cloud Identity settings
- Provider: Google
- Protocol: OIDC
- Client ID: OAuth client ID generated by Google
- Authentication Key: The password for the OAuth client generated by Google.
Step 6: After saving the SSO settings, the first login page appears.

After selecting Continue with Google, select your account.
Login is now possible with Google SSO.