Configuring Users/Managers
Configuring a User
Configuring a user is simple and carries a few key steps.
Step 1. Enter the Name, Login ID, and Password
Name and last name are mandatory, and this is how the user will be known in the system and they will be searchable in this way. Login ID is the email used to log in. An example would be login@test.com. Lastly, enter a password according to the correct specifications.
Checking the 'Require password reset' button will prompt a change of password upon initial login, and Password Change Cycle allows the manager to set a time interval for requiring a password change. This is set to enabled by default.
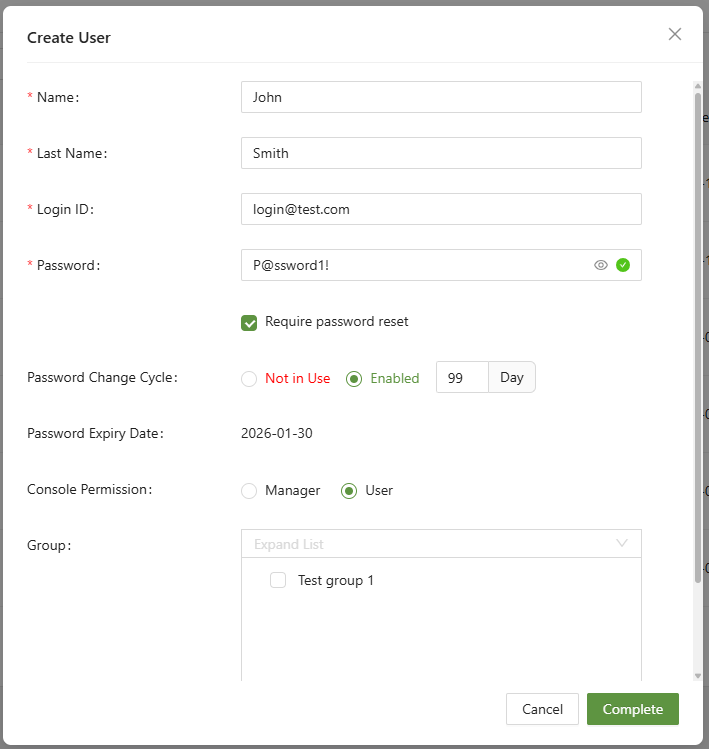
Step 2: Add to a user group
Adding a single user to every single policy in a large organization can be very arduous. To combat this, add similar users or those in similar teams to a user group. To learn how to configure a user group, please visit Configuring a User Group.

When finished, click complete.
Configuring a Manager
Configuring a manager is very similar to configuring a user, except for the addition of two extra menus.
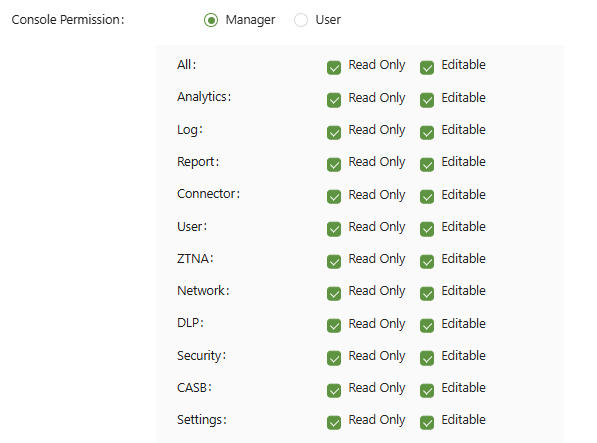

When manager is selected, the ability to configure specific manager permissions become available. These permissions correspond to each menu on the left side of the console:
- Read Only - This will allow the manager to view the menu.
- Editable- This will allow the manager to write/edit policies.
The Access IP (Option) function allows managers to access the console only from select IP addresses. This is practical for ensuring access only from select locations.
Setting Account Status
Accounts can be set to Active, Dormant, or Inactive.
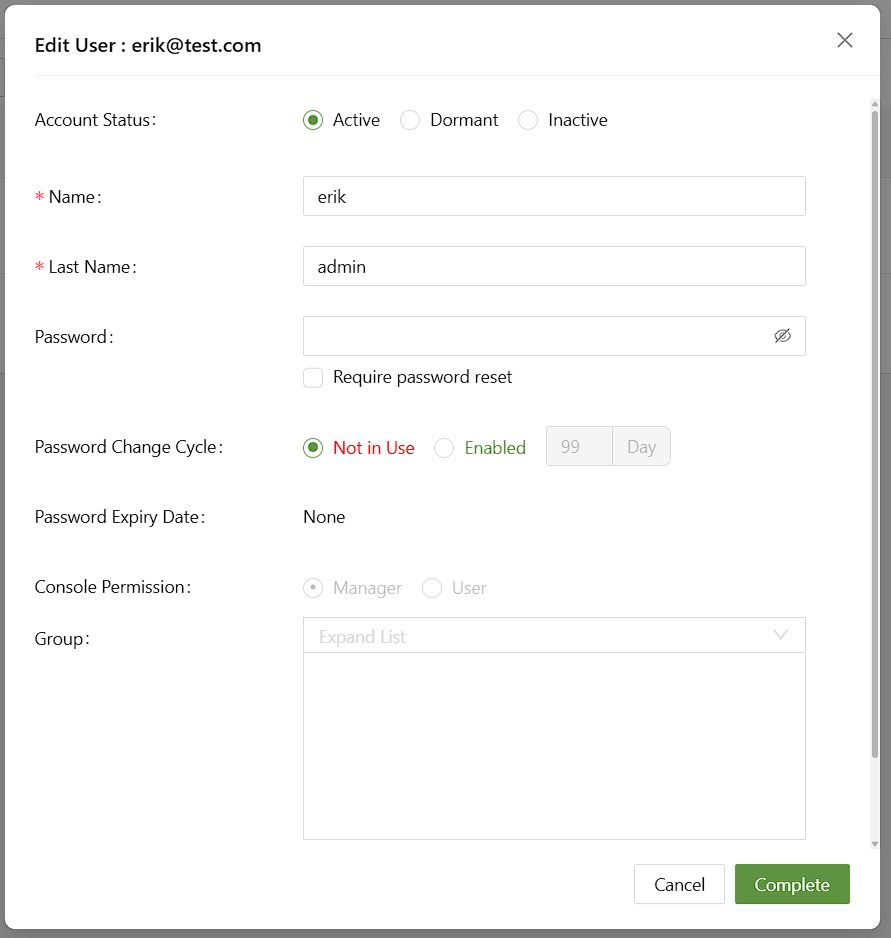
An Active account can be used normally.
A Dormant account will require the user to reset their password upon log in.
An Inactive account will not be accessible via login and can be hidden by filter.