Connector Agent For Server
Introduction to Connector
- Traffic transmitted to the SASE SSE is protected with secure encryption algorithms.
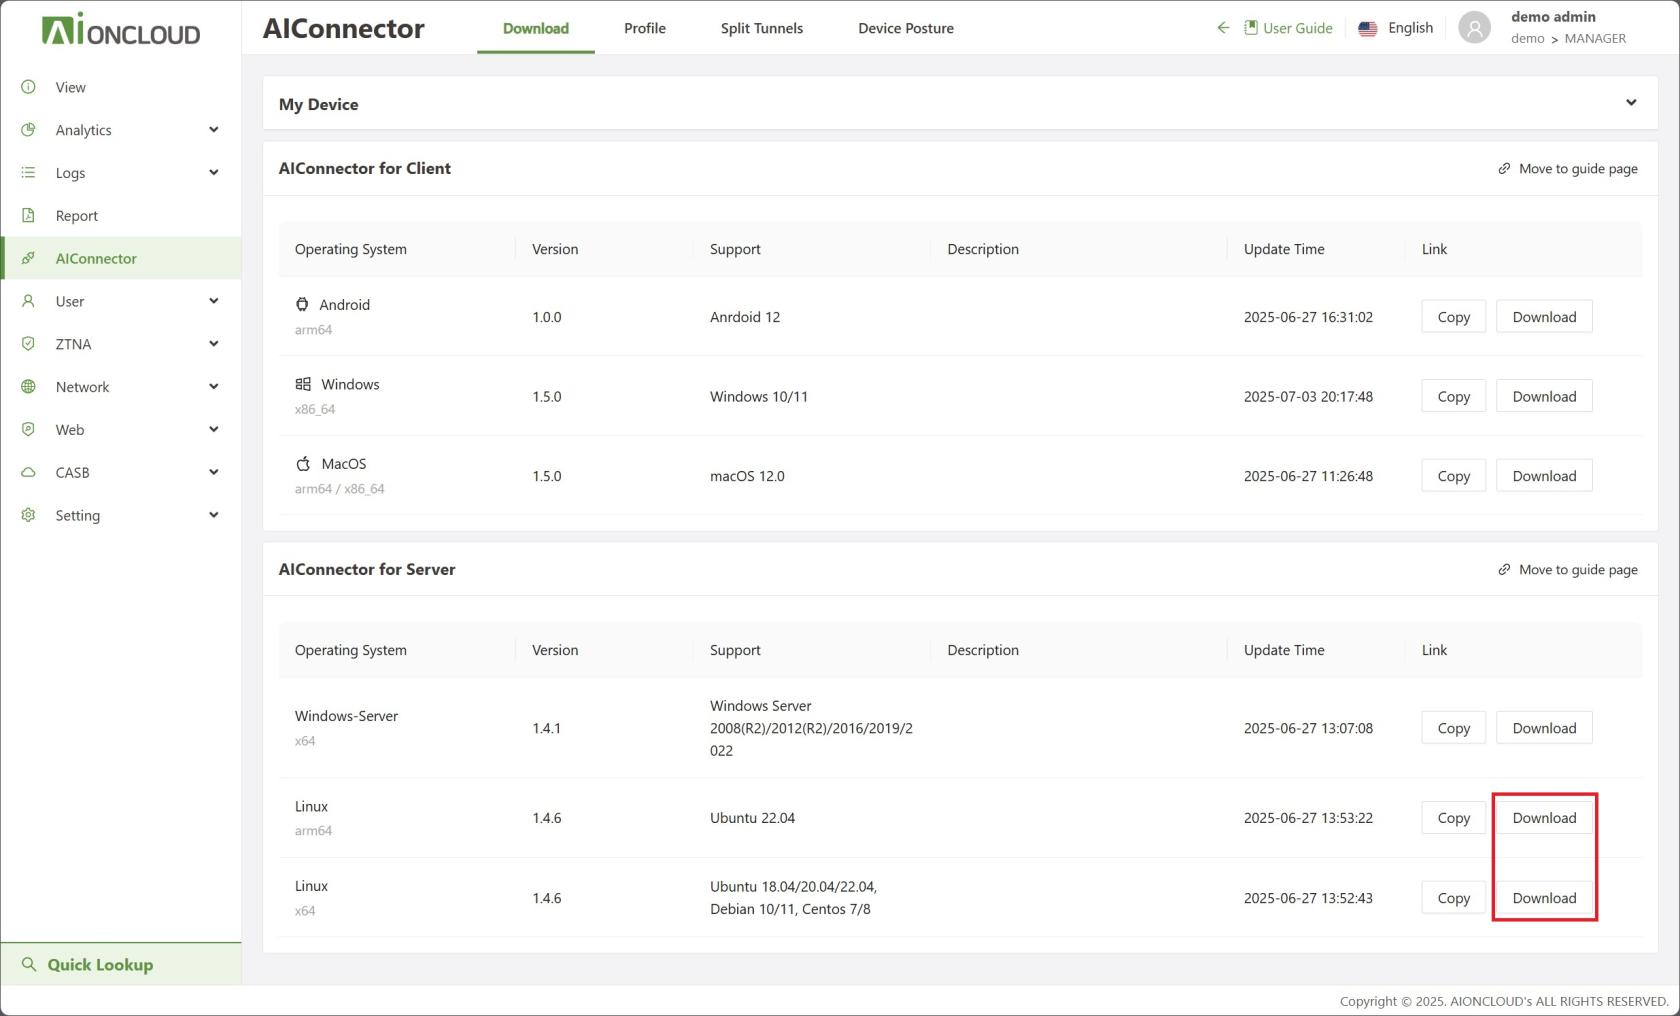
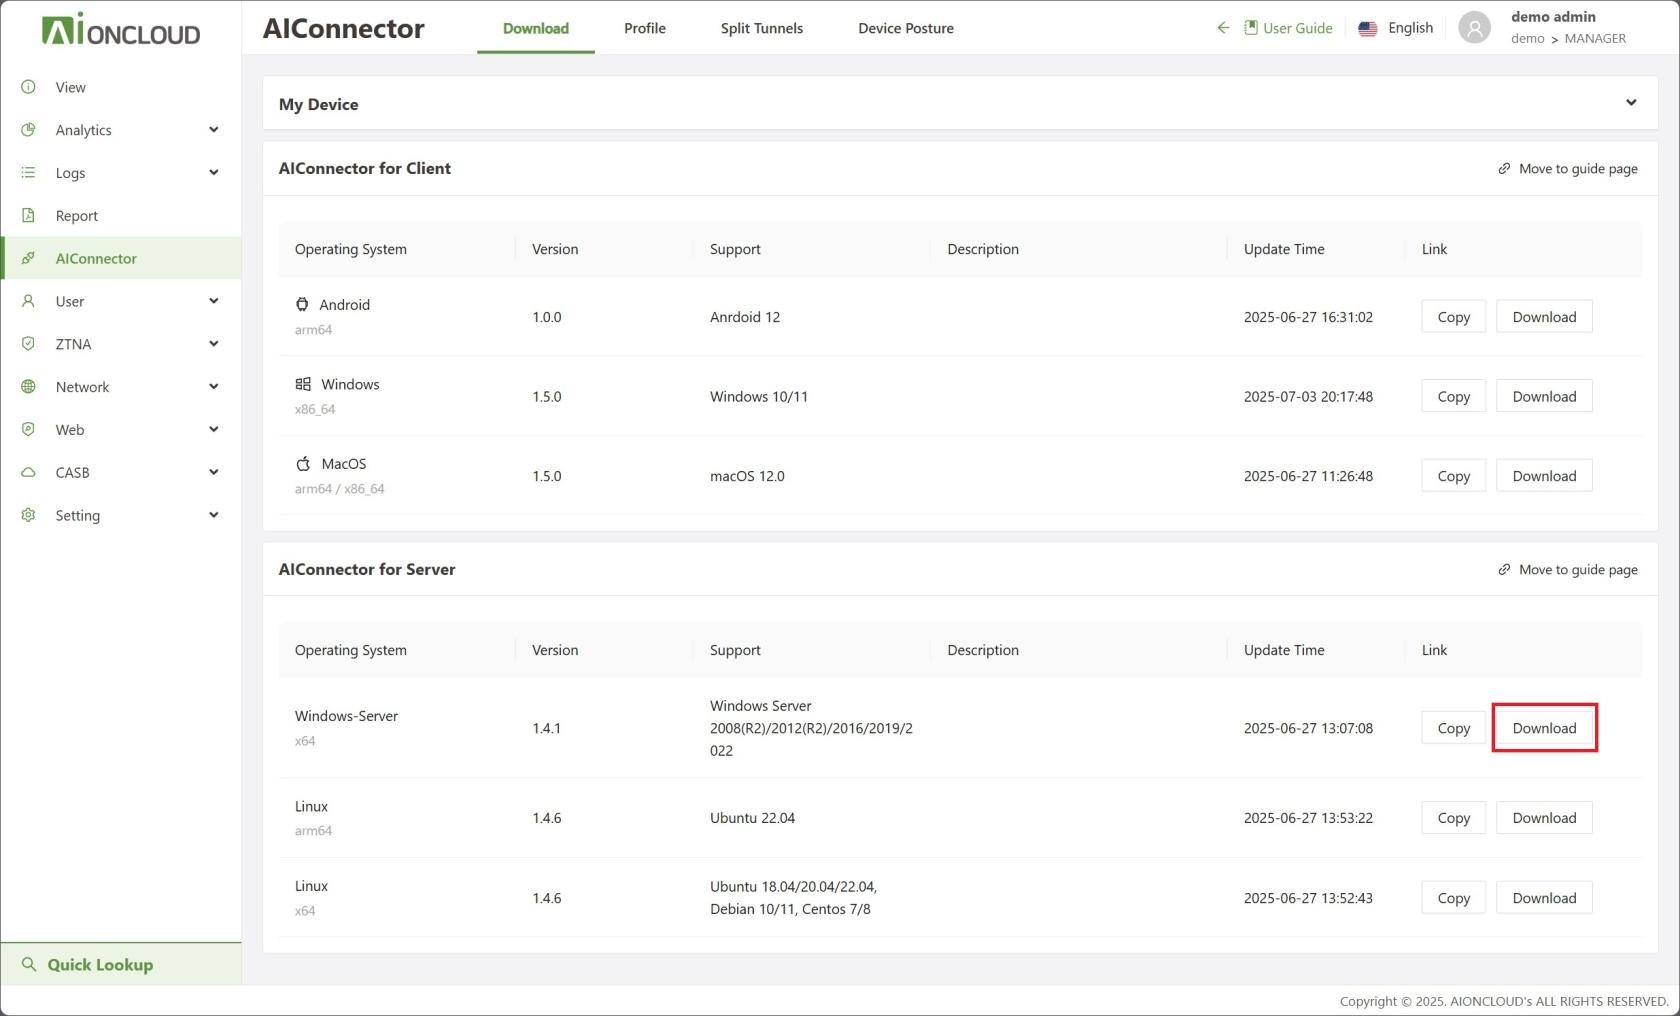
- You can download the Connector for servers from the Connector > Download menu in the Console.
- After creating a server and gateway in the Tunnel menu of the Console, you can install the server connector to establish a secure tunnel connection.
For instructions on creating server and gateway connections, please refer to the Console manual.
Version support status by operating system
The supported operating system versions for Connector are as follows:
| OS | Version |
|---|---|
| Linux | Ubuntu 19.04/20.04/22.04, Debian 10/11, Centos 7/8 |
| Windows Server | Windows Server 2008(R2)/2016/2019/2022 |
Download and Install (Linux)
- Go to Connector > Download and download the Linux connector. Make sure to check the architecture of the target server before downloading.
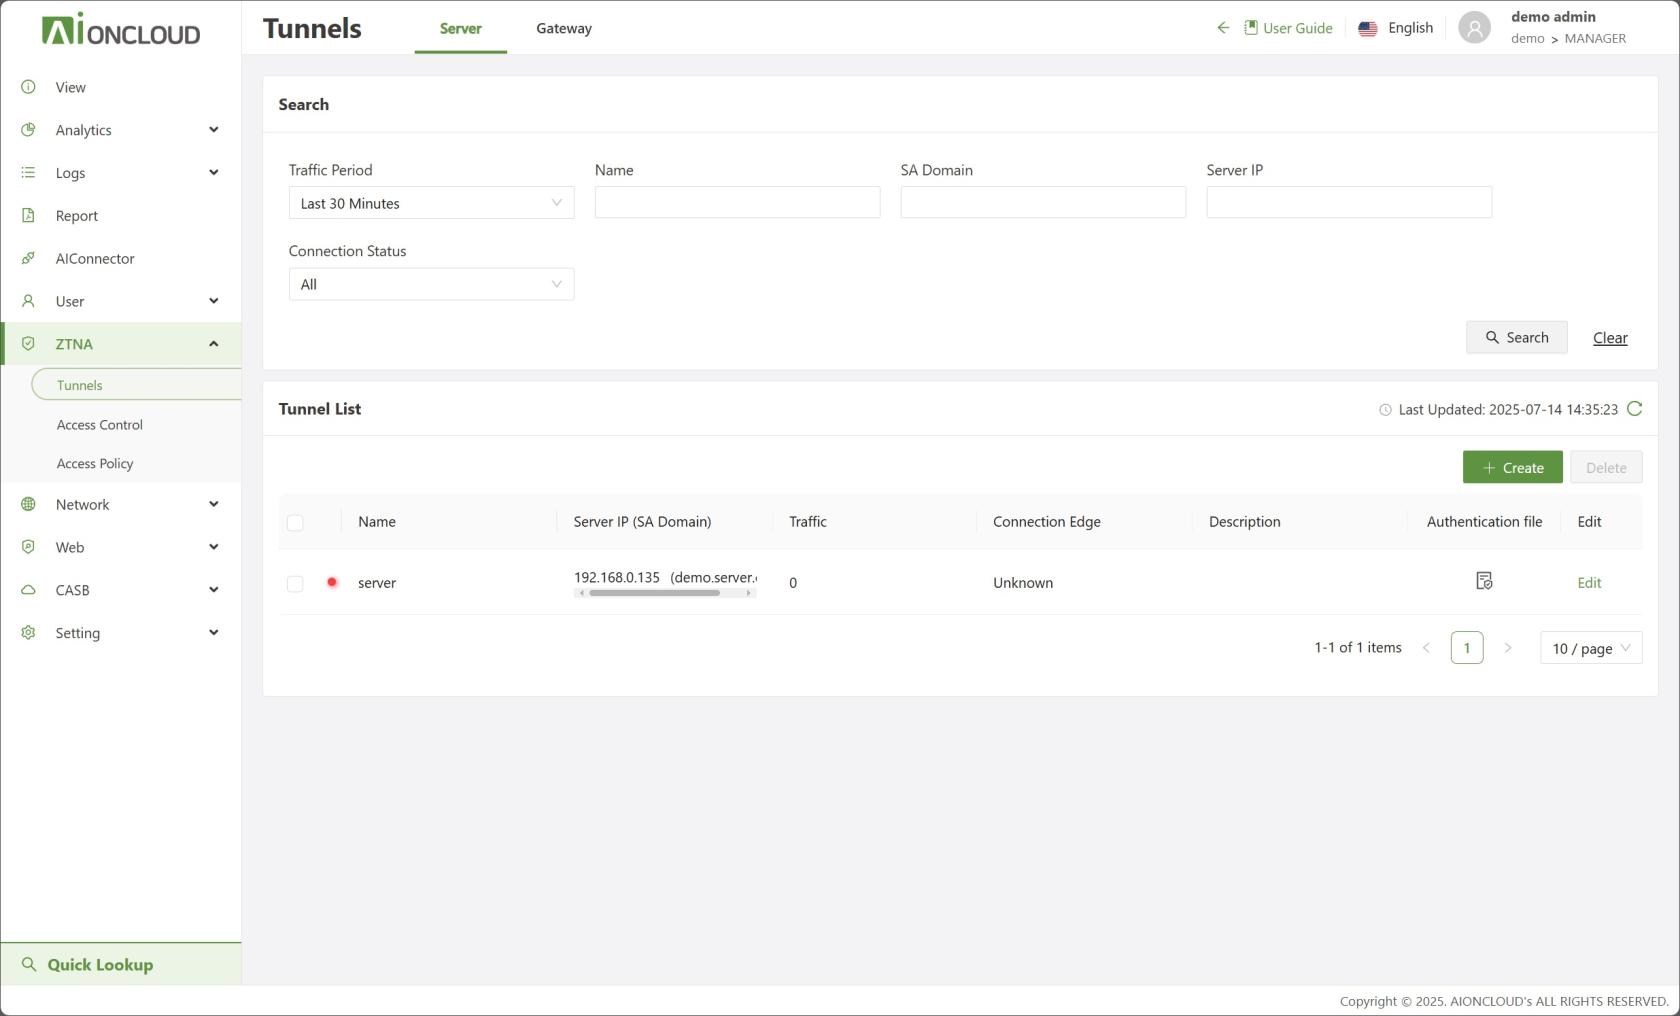
- In the Tunnel menu, download the authentication file for the registered server.

-
Transfer or copy the downloaded Linux connector and authentication file to the target server.
-
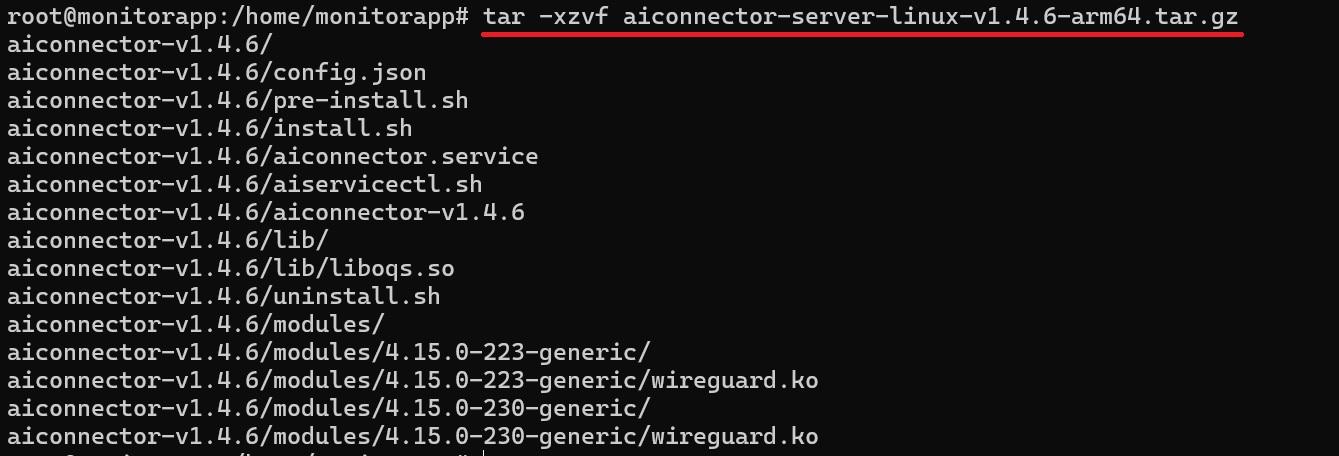
Run
tar -zxvf [filename.tar.gz]to extract the file, then navigate to the extracted folder usingcd [folder_name].
![]()
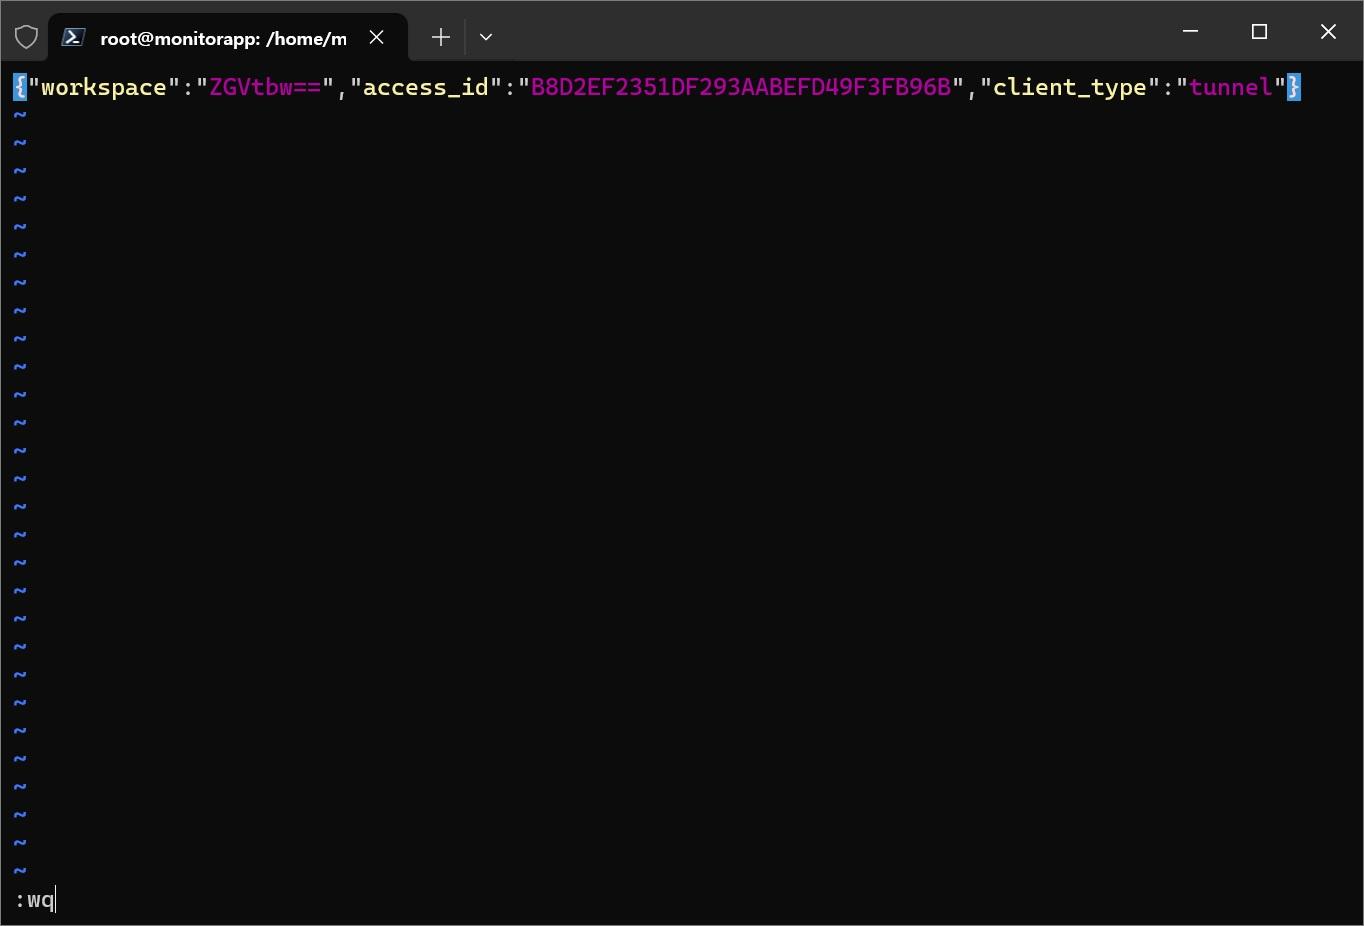
5)Run vi auth.json and paste the content of the provided auth.json file. Press ESC, then type :wq to save and exit. Alternatively, move the downloaded authentication file into the extracted folder.
![]()
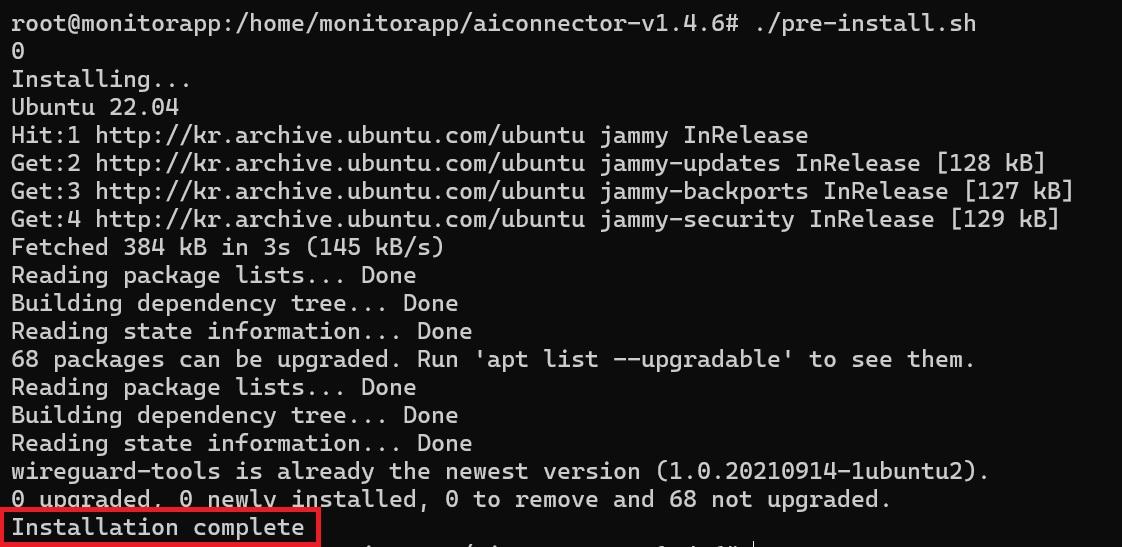
- Run
./pre-install.sh. Once the "Installation complete" message is displayed, run./install.shto register and start AIConnector as a service.

- To remove the AIConnector service, run
./uninstall.sh.

Download and Install (Windows Server)
- Go to AIConnector > Download and download the Windows connector.
- In the Tunnel menu, download the authentication file for the registered server.
-
Transfer or copy the downloaded Windows connector and authentication file to the target server.
-
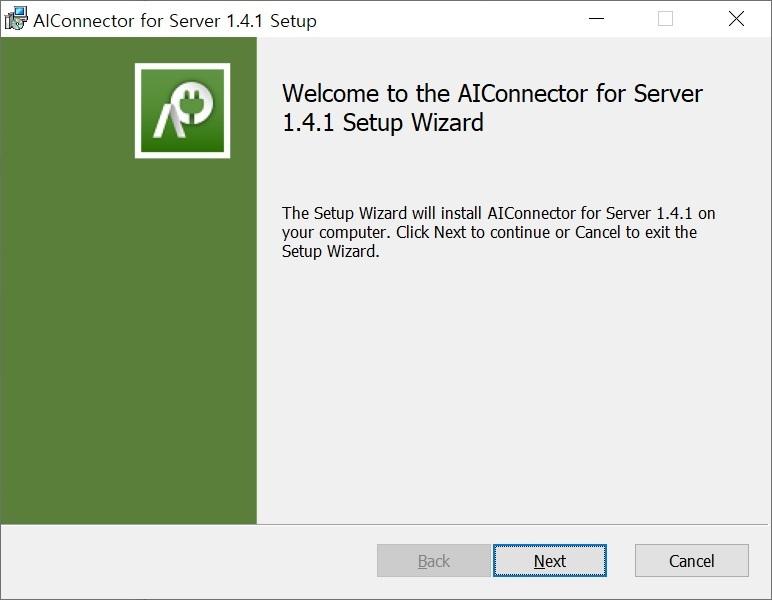
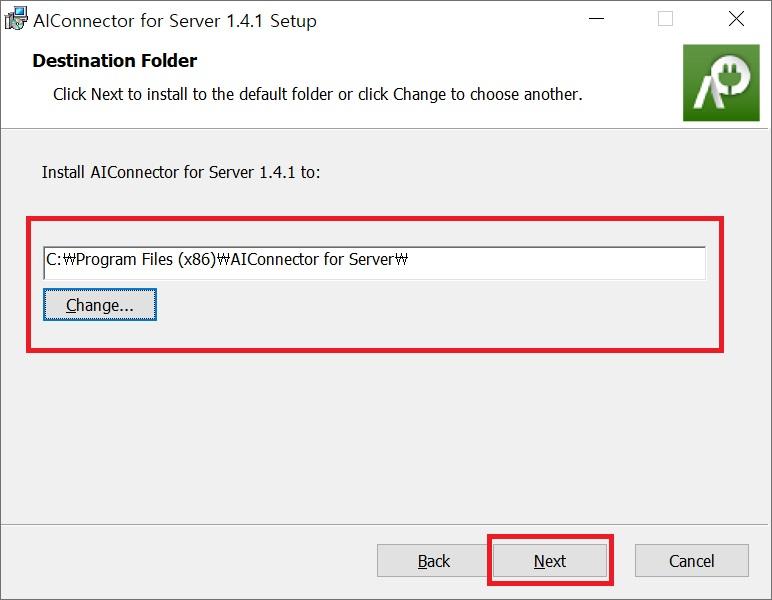
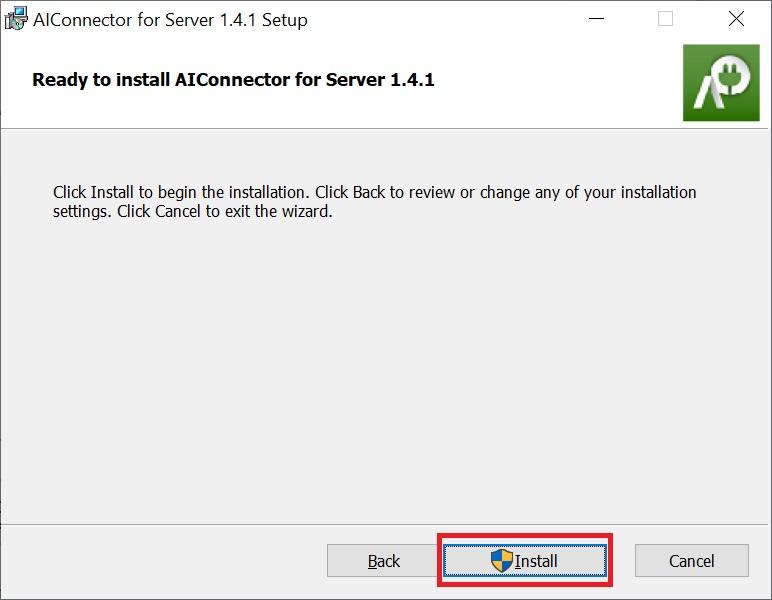
Run the installer and follow the instructions. In the Destination Folder step, click the Change... button or manually enter the installation path. Then click Next to continue the installation.
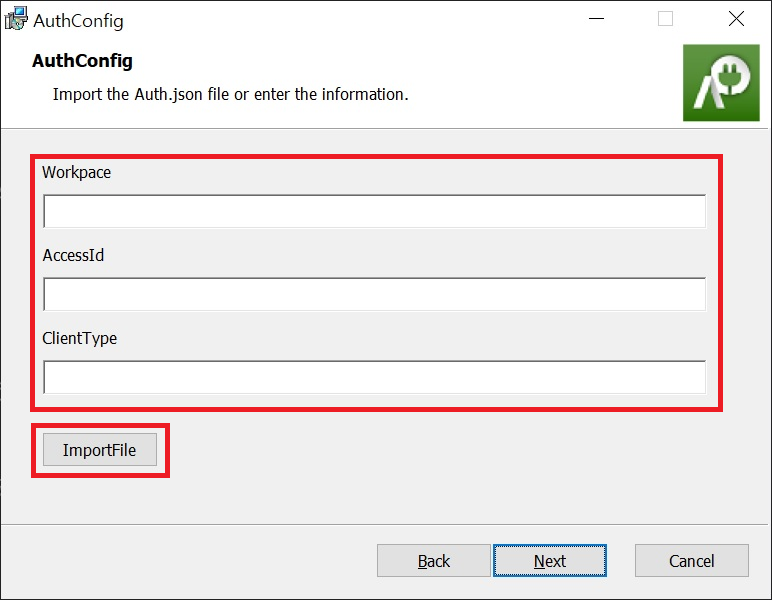
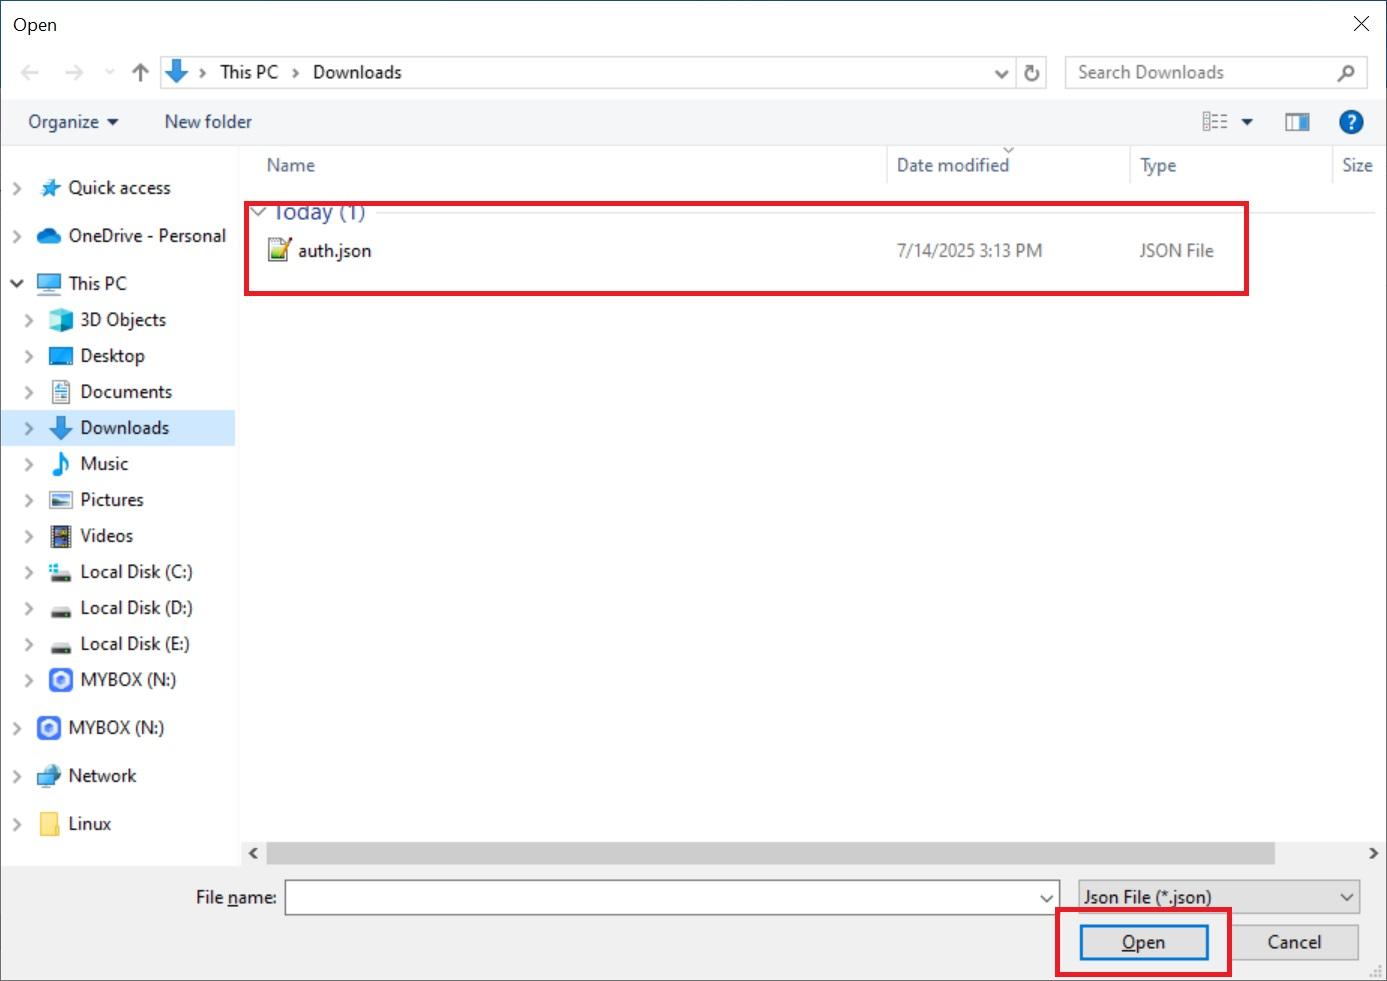
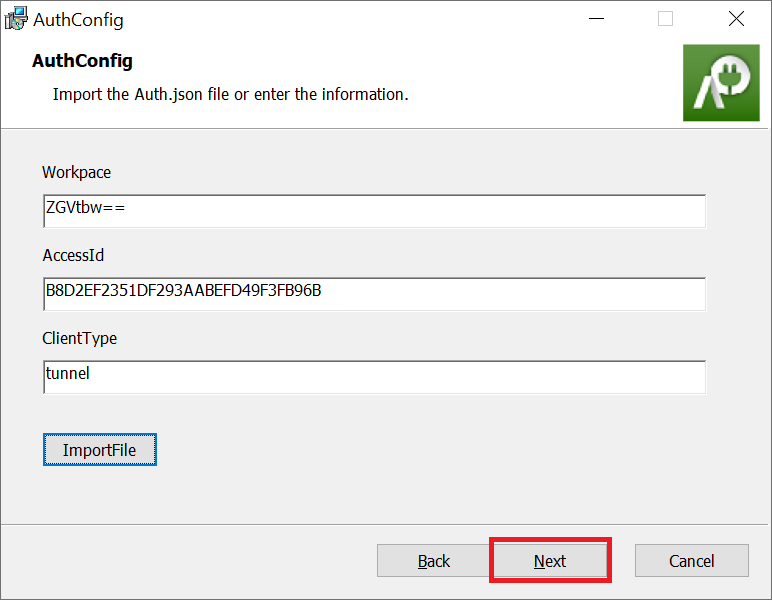
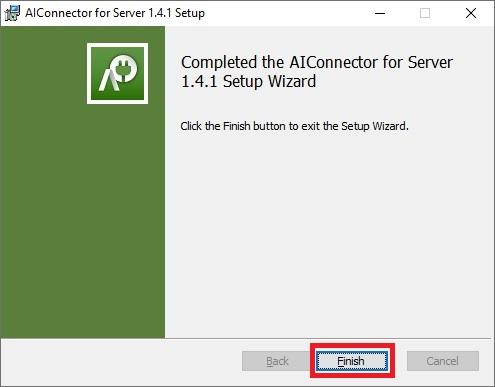
- In the AuthConfig step, either click the ImportFile button to load the provided
auth.jsonfile or manually enter the required information. Then click Next > Install to complete the installation.
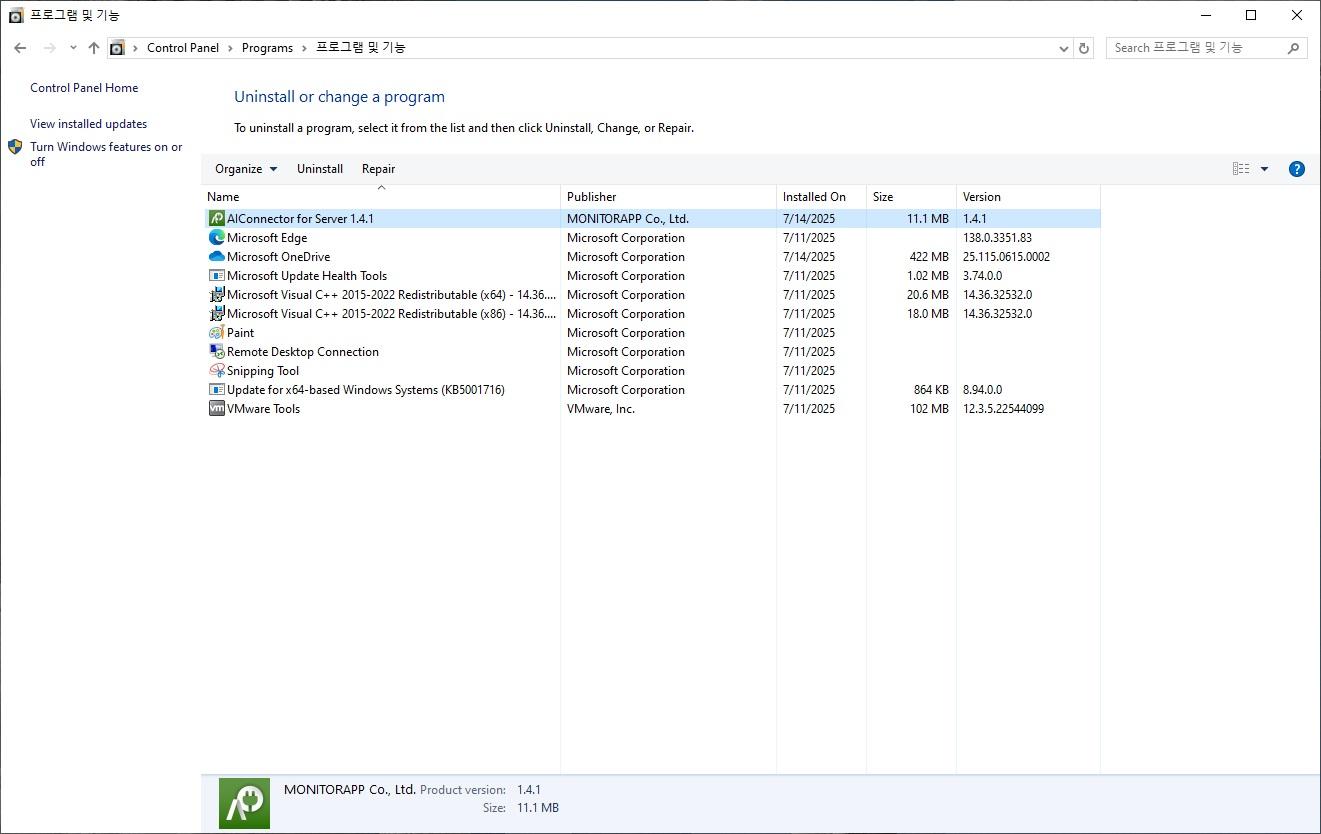
- To uninstall, go to Control Panel > Programs > Programs and Features, and remove the application.