DNS Firewall Configuration Guide
This page will provide a step by step guide to configure a DNS firewall rule.
Step 1: Navigate to DNS Firewall
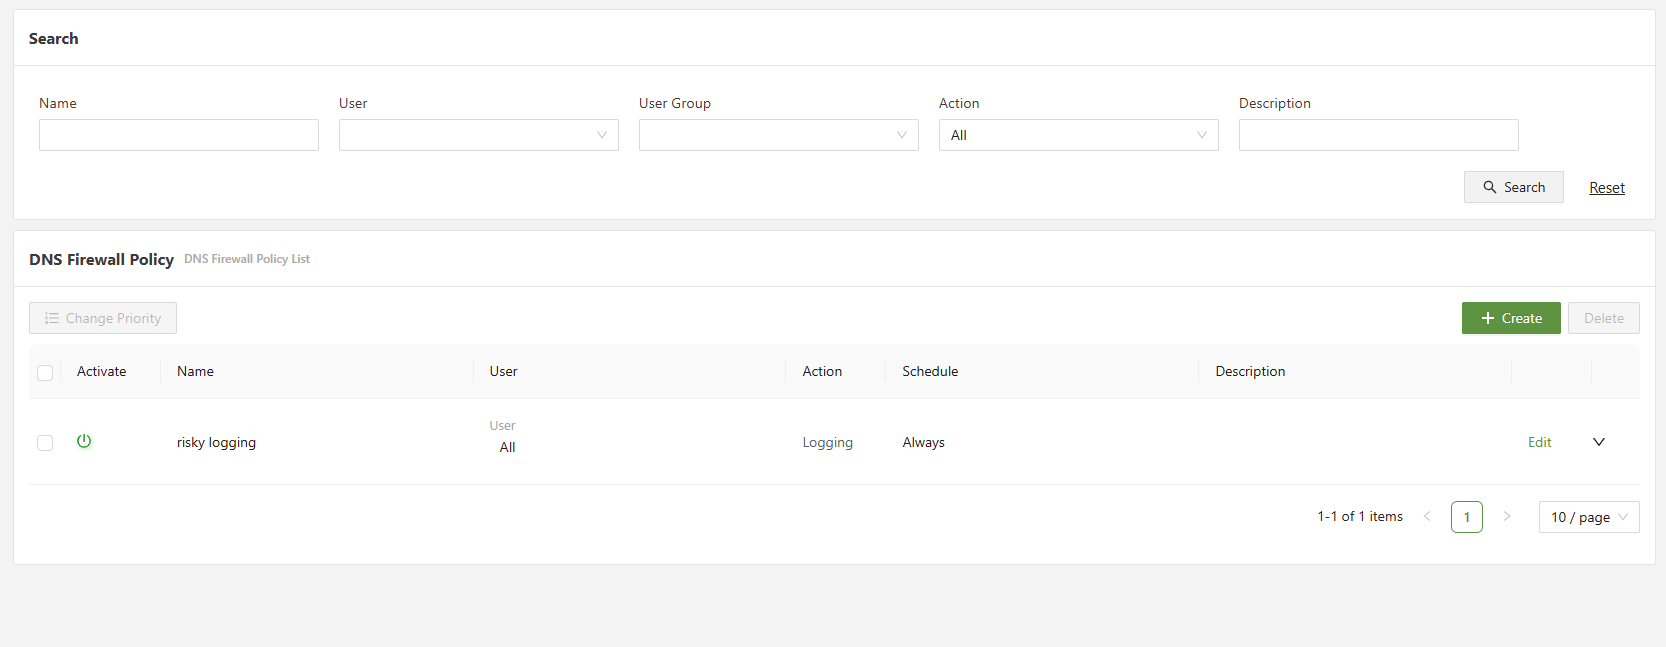
The DNS firewall menu is located under the Network menu.
Step 2: Click create and open the policy configuration menu
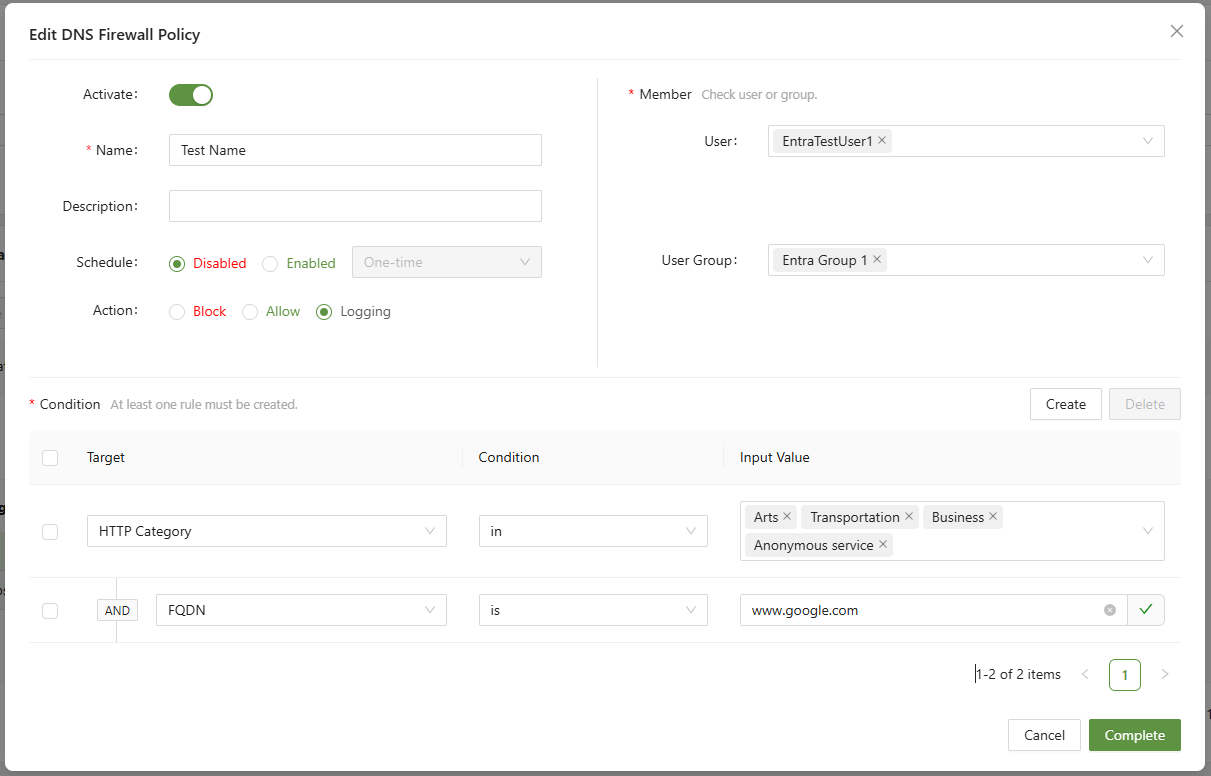
There are many ways to configure a DNS Firewall policy, however there are some constants, which will be listed below.
Must have:
- Name: Create a name for the rule. This name should be unique from other DNS Firewall rules.
- Action: Decide the action.
- Block: blocks the traffic at the DNS level
- Allow: Allows the traffic at the DNS level
- Logging: Takes no actions except for logging in the DNS log menu
- Member: Decide who this policy will apply to.
- Without setting up a user or user group, the policy will not trigger. Furthermore, this policy will only affect a user using the connector agent.
- One of, or both of, a user or user group must be selected
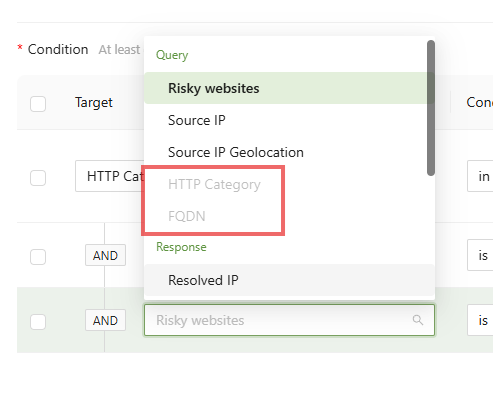
- Condition: Set the target conditions that will trigger the action.
- For an in-depth explanation of each condition, check the DNS Firewall Overview page.
- All conditions operate under AND rules.
- A target condition cannot be selected more than once, if so it will be grayed out.
Step 3: Complete the rule and set the priority
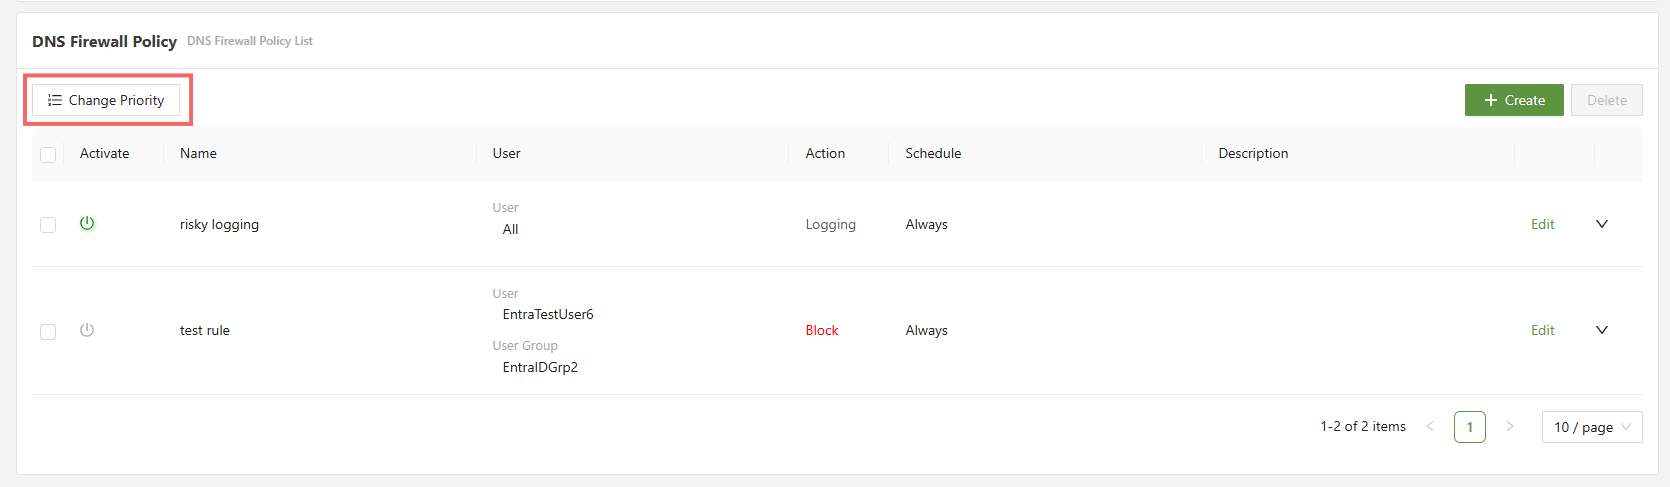
The rule at the top will always be applied first, so block rules should in general be placed at the bottom and logging rules at the top.